
How to make condensed milk with leftover milk [Homemade condense
I'll introduce you to handmade condensed milk that's good to make when you can't handle the leftover milk in the refrigerator. It's very useful when you dip strawberries or make lattes.
4 serving
Within 60 minutes
칸토리
- Ingredients
-
-
Milk500ml
-
white sugar100g
-
- Video
-
- Cooking Steps
-
STEP 1/6Milk and sugar are the only ingredients left! It's very simple, right?
The storage period is shorter than that for commercial use, but if you make condensed milk like this, the storage period is longer than leaving milk as it is.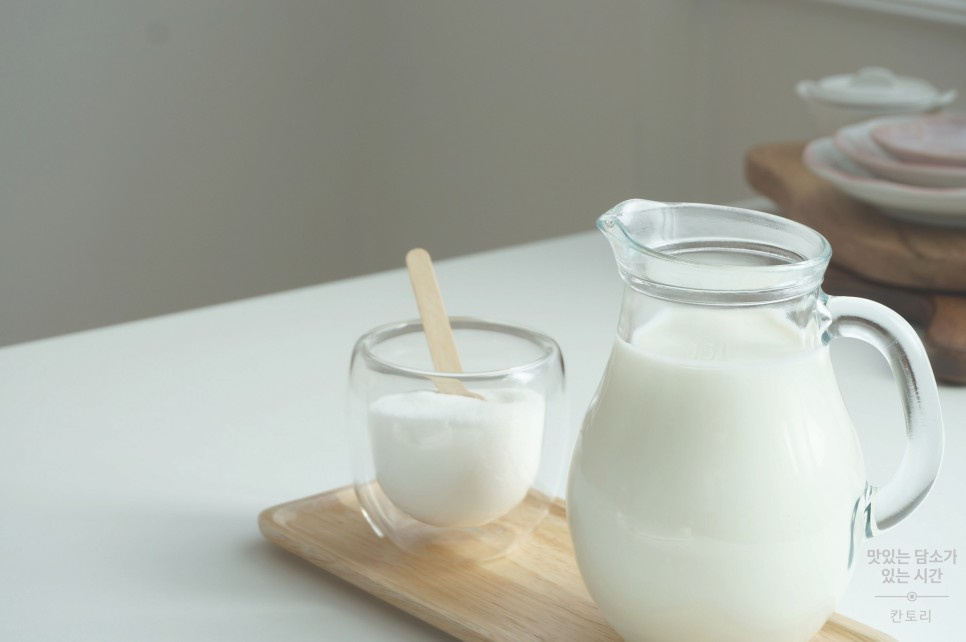 STEP 2/6When making condensed milk, it is better to use a well-coated pot or a concave royal pan. It's because it's convenient because it cleans well when you wash the dishes later. Start with high heat and turn it down to medium heat when it boils.
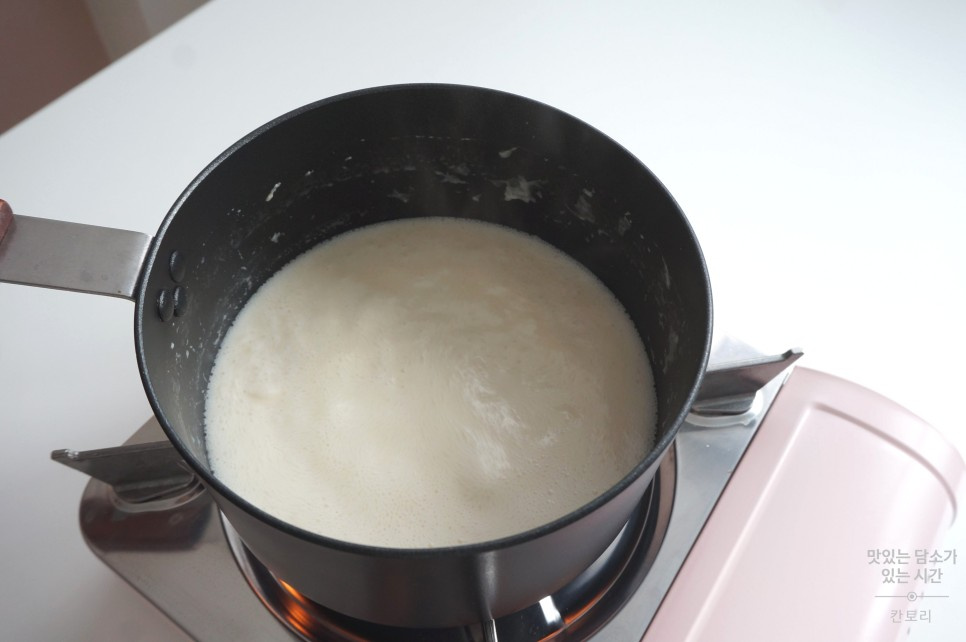 STEP 3/6If you boil it on medium heat, you can see the bubbles are heavy. It means that it's getting more and more concentrated.
Reduce the heat to low and boil it for a little longer.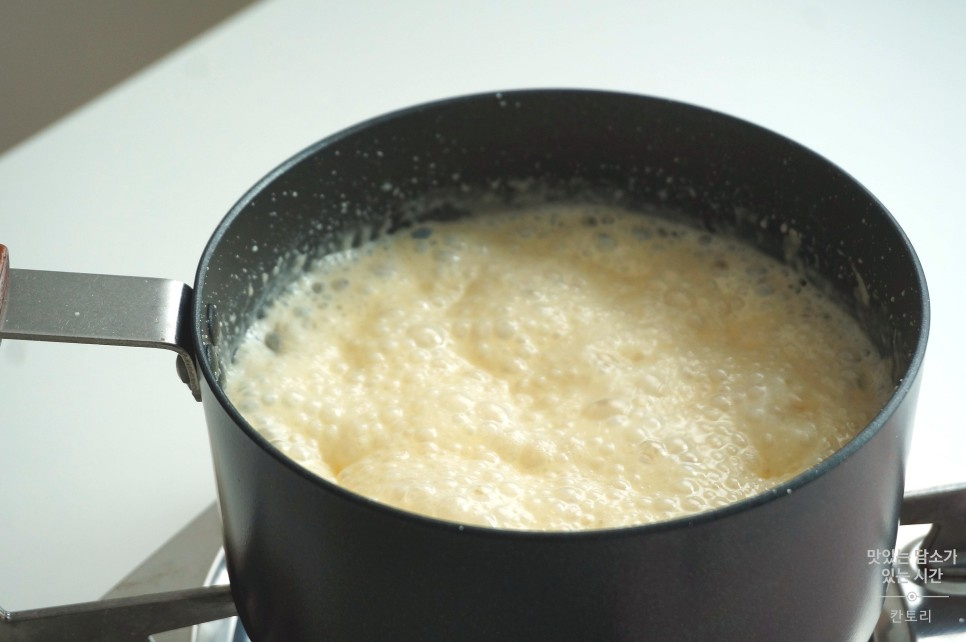 STEP 4/6When you scratch the floor with a spatula, you can instantly see the floor for 1-2 seconds.
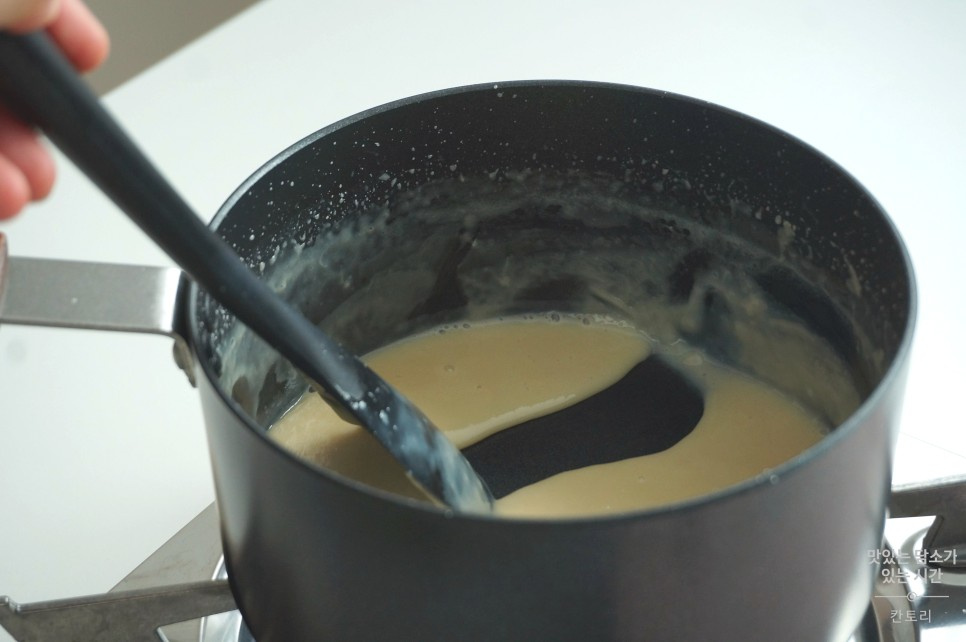 STEP 5/6Because of the concentration, it drips down heavily even if you drop it from the top. When you think, "Shouldn't it be more sticky?" you need to turn off the lights. It's because the sticky concentration gets bigger as it cools down anyway.
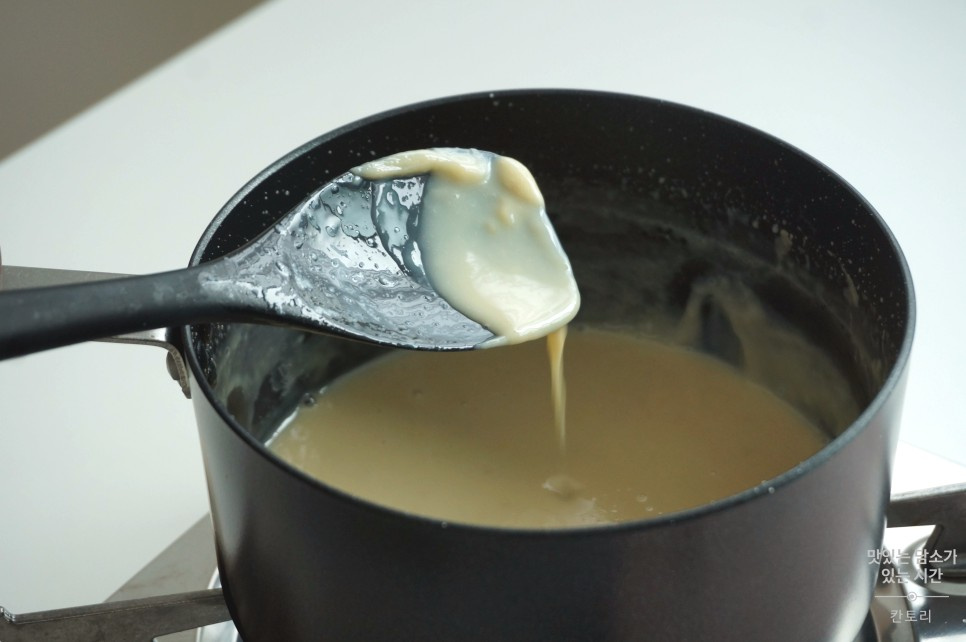 STEP 6/6I put it in a glass bottle after it cools down a bit. As it cools down, the concentration of condensed milk that we know comes out. So when it's hot, it has to flow down to a certain extent to make it easier to use after cooling.
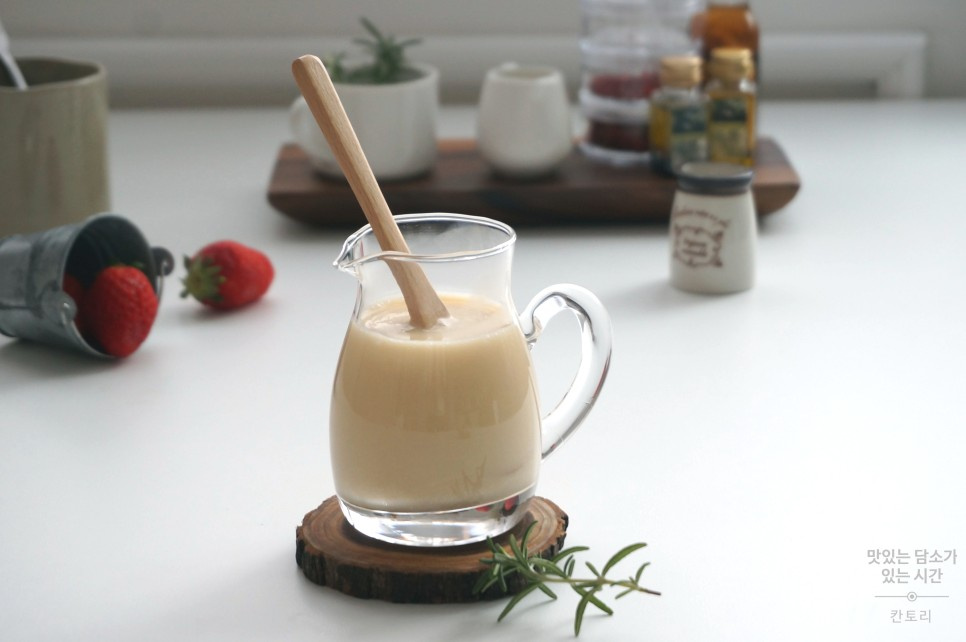
- Cooking review
-
5.00score
-
322*****scoreIt's good to make condensed milk and eat it. Thank you for sharing the recipe!2021-08-28 13:12
-
- Bulgogi Recommended recipe
-
-
1
 Making Bulgogi with Ttukbaegi4.98(52)
 -
2
 Pork bulgogi is a popular dish to grill4.91(162)
 -
3
 How to make Jongwon Baek pork bulgogi! The soy sauce is so good4.84(50)
 -
4
 Simple and delicious meat side dishes - Making soybean fire (bea4.98(45)
-
- chicken Recommended recipe
-
-
1
 How to make Jongwon Baek seasoned chicken sauce. Making seasoned5.00(23)
 -
2
 Making barbecue chicken Let's make a barbecue-flavored chicken5.00(14)
 -
3
 (Air fryer cooking) Air fryer chicken. - Making side dishes for4.75(20)
 -
4
 In vain... On the knife... On the knife!!!!!!Curry Oven Chicken5.00(8)
-