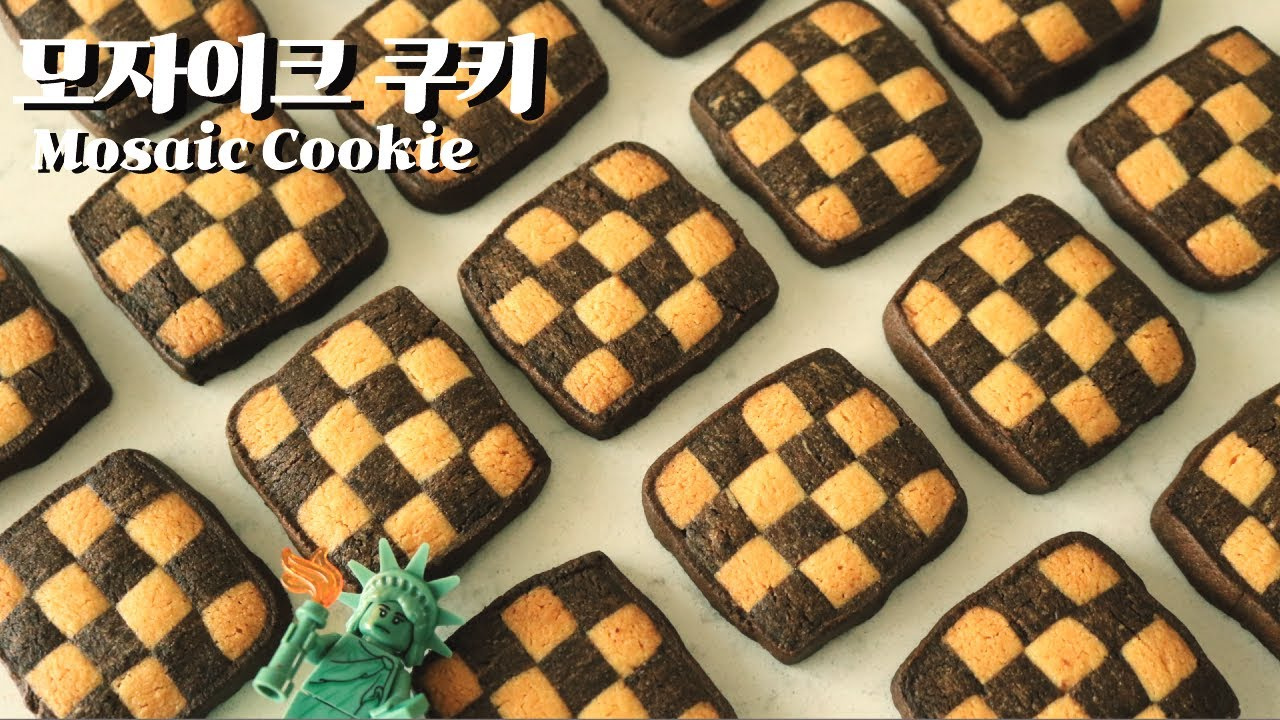
Making mosaic cookies!! //*How to make Mosaic Cookie !!
It's a vanilla and cocoa-flavored cookie with butter flavor
The shape is pretty, so it's perfect for serving customers and tea time!
6 serving
Within 999 minutes

Red Moon 붉은달
- Ingredients
-
-
unsalted butter140g
-
Sugar powder116g
-
egg37g
-
vanilla oil5g
-
almond37g
-
Soft flour232g
-
cocoa powder18g
-
egg
-
- Video
-
- Cooking Steps
-
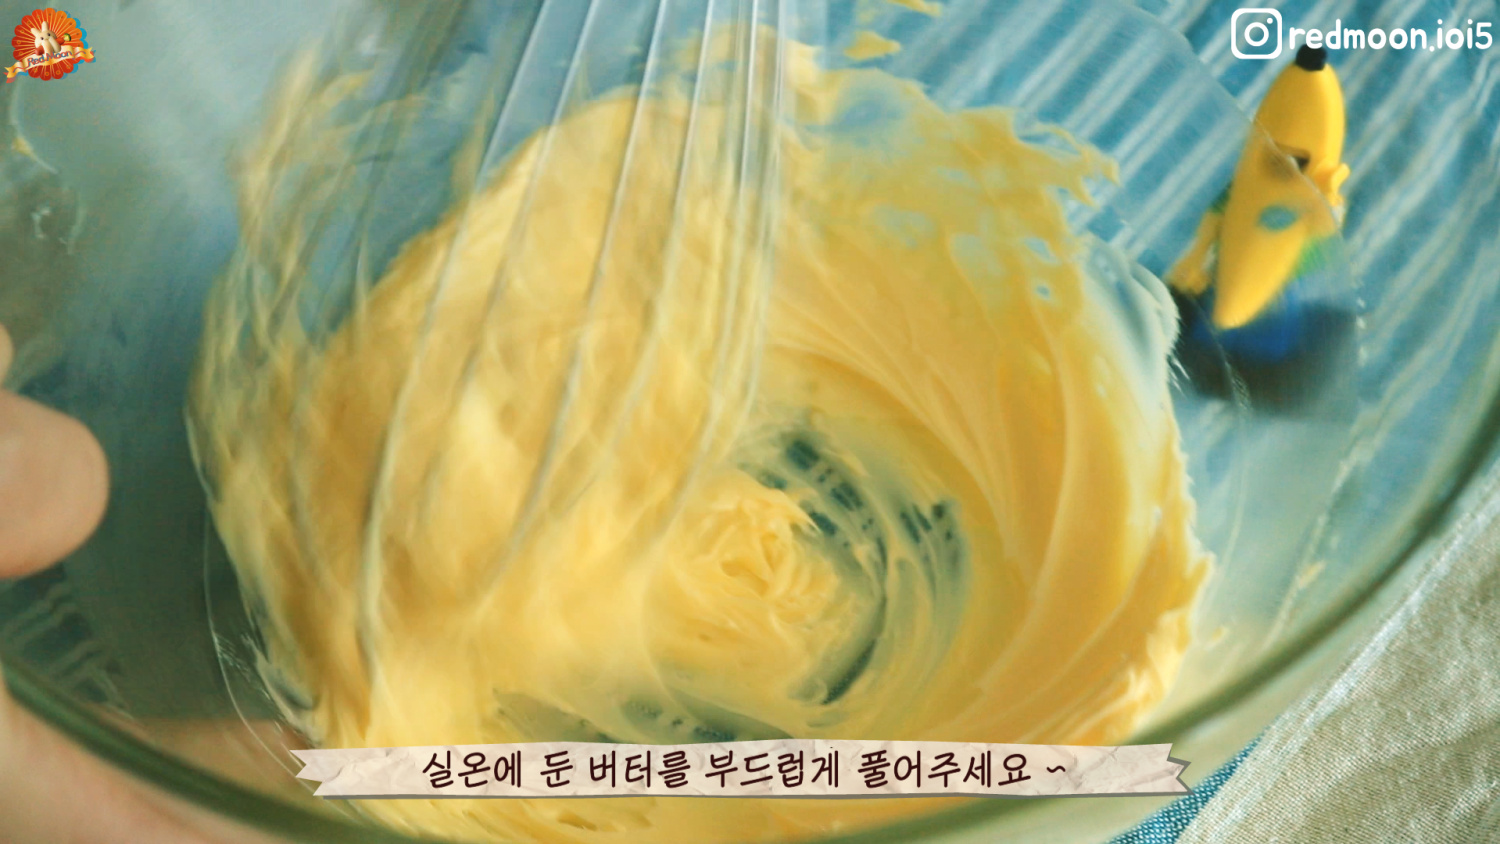
STEP 1/23Leave it at room temperature and whisk away the softened butter
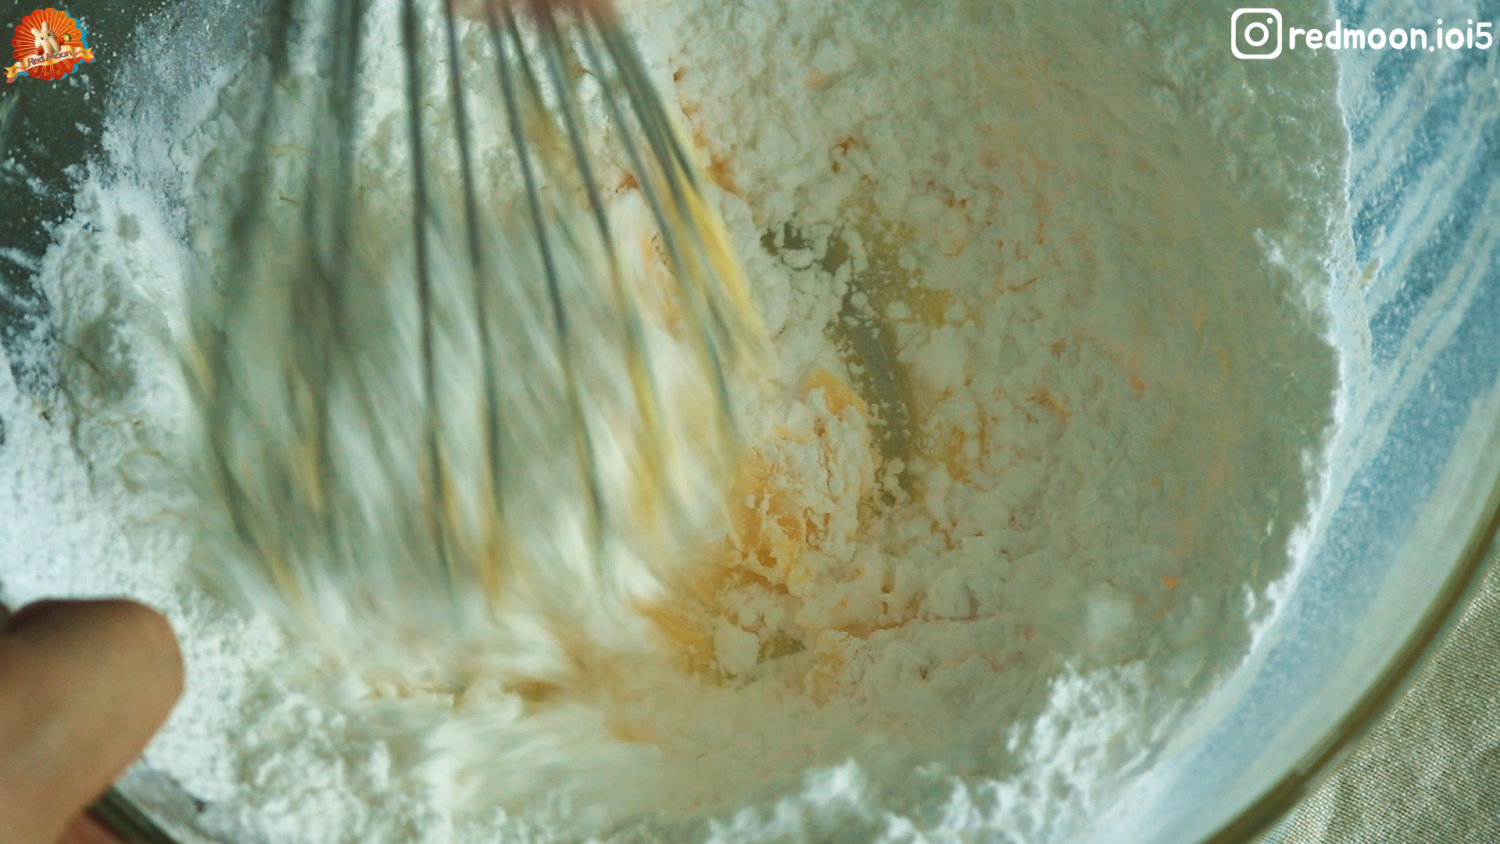
 STEP 2/23Sift in the sugar powder and mix
 STEP 3/23Divide the eggs into two and mix
 STEP 4/23Mix in the vanilla oil
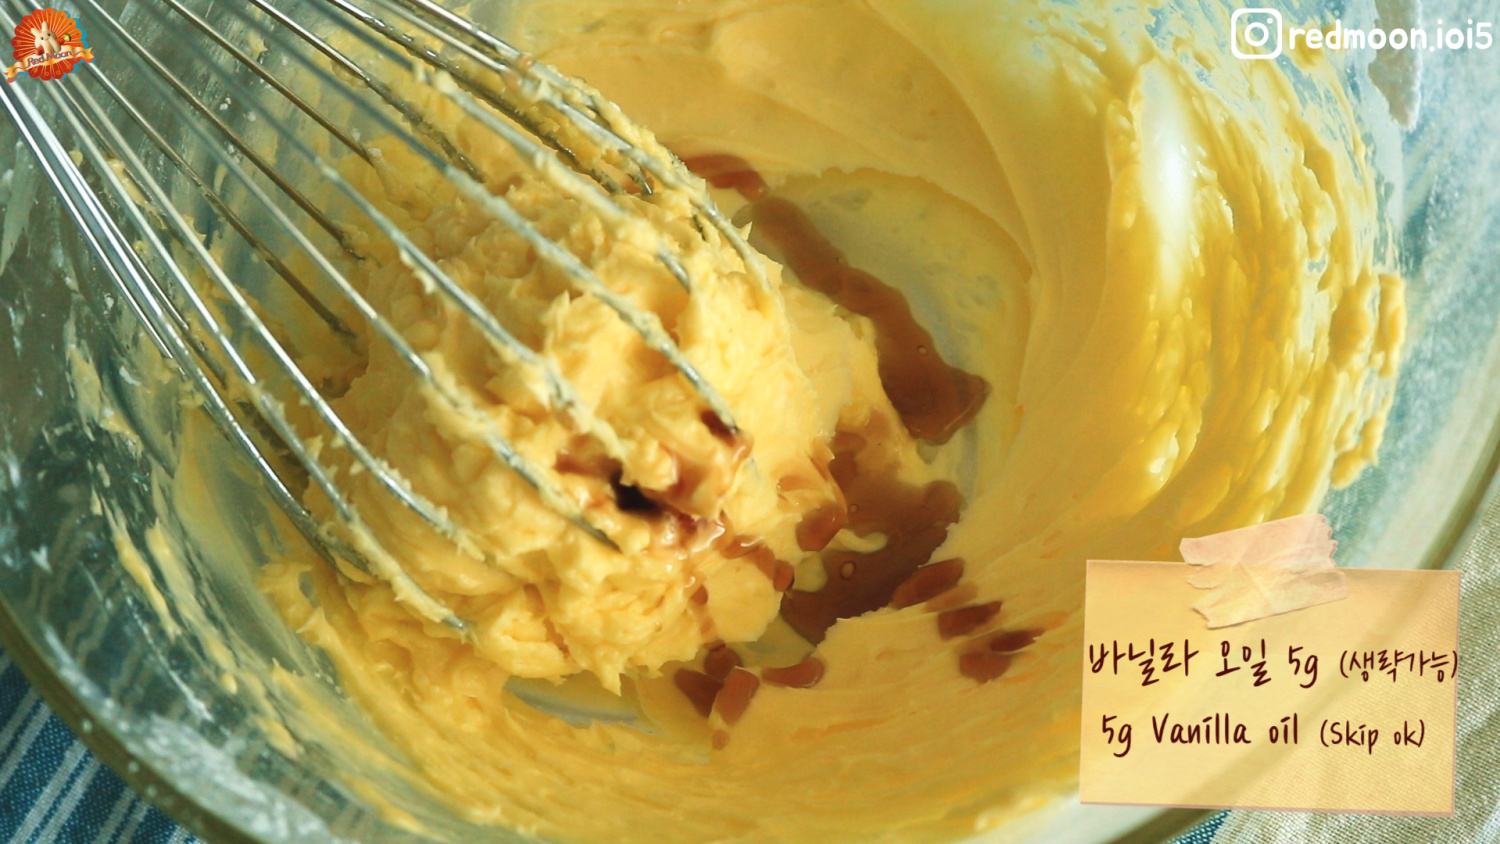 STEP 5/23Whip until the ivory color comes out
(The higher the air content, the more crisp the cookie is.)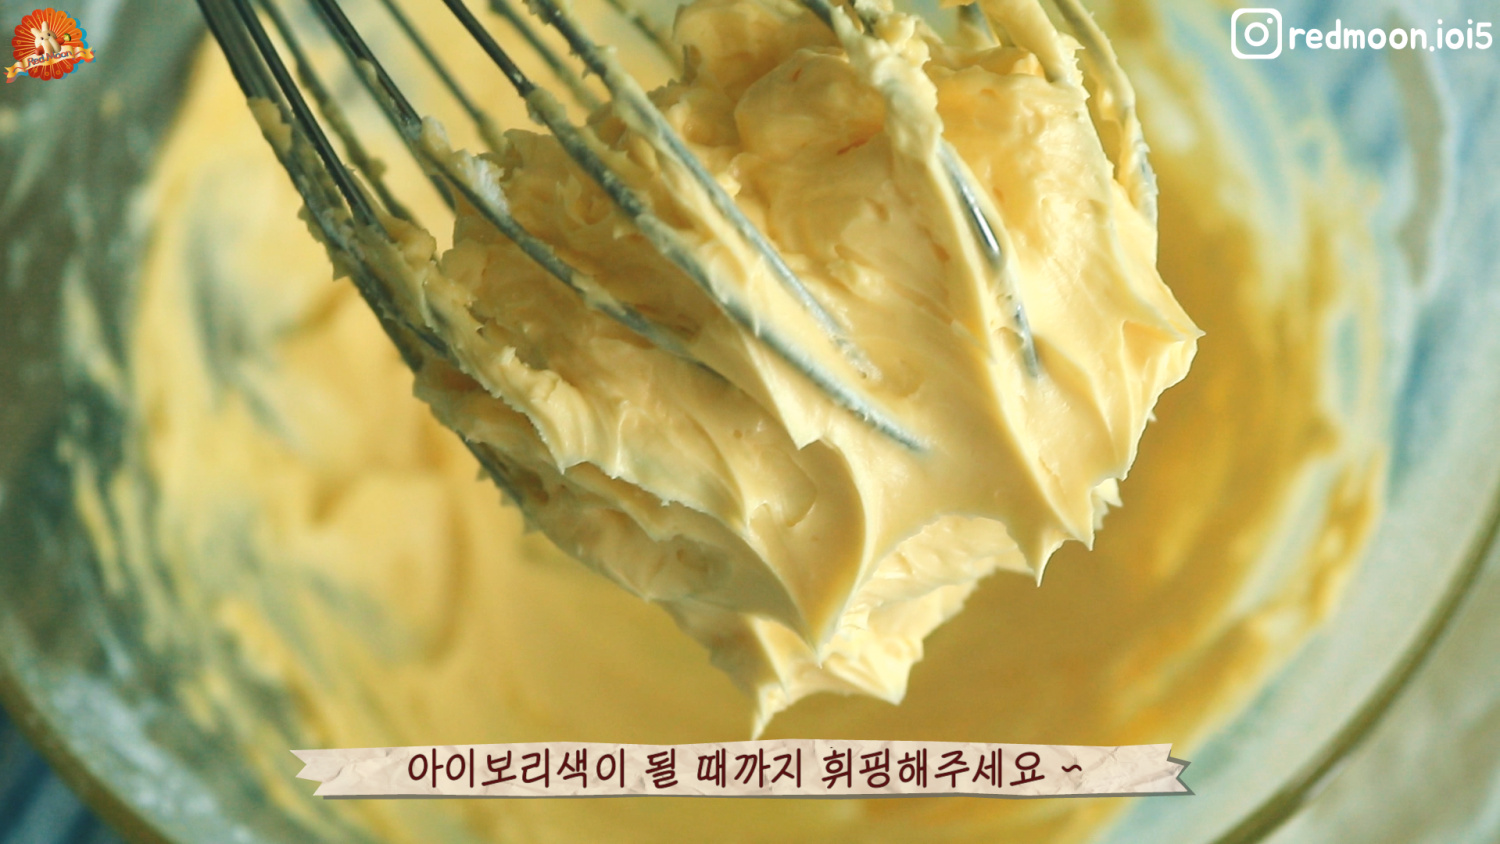 STEP 6/23Sift together the flour and almond powder and mix as if cutting with a spatula
If you can't see the raw powder like the picture, divide it into 220g and 318g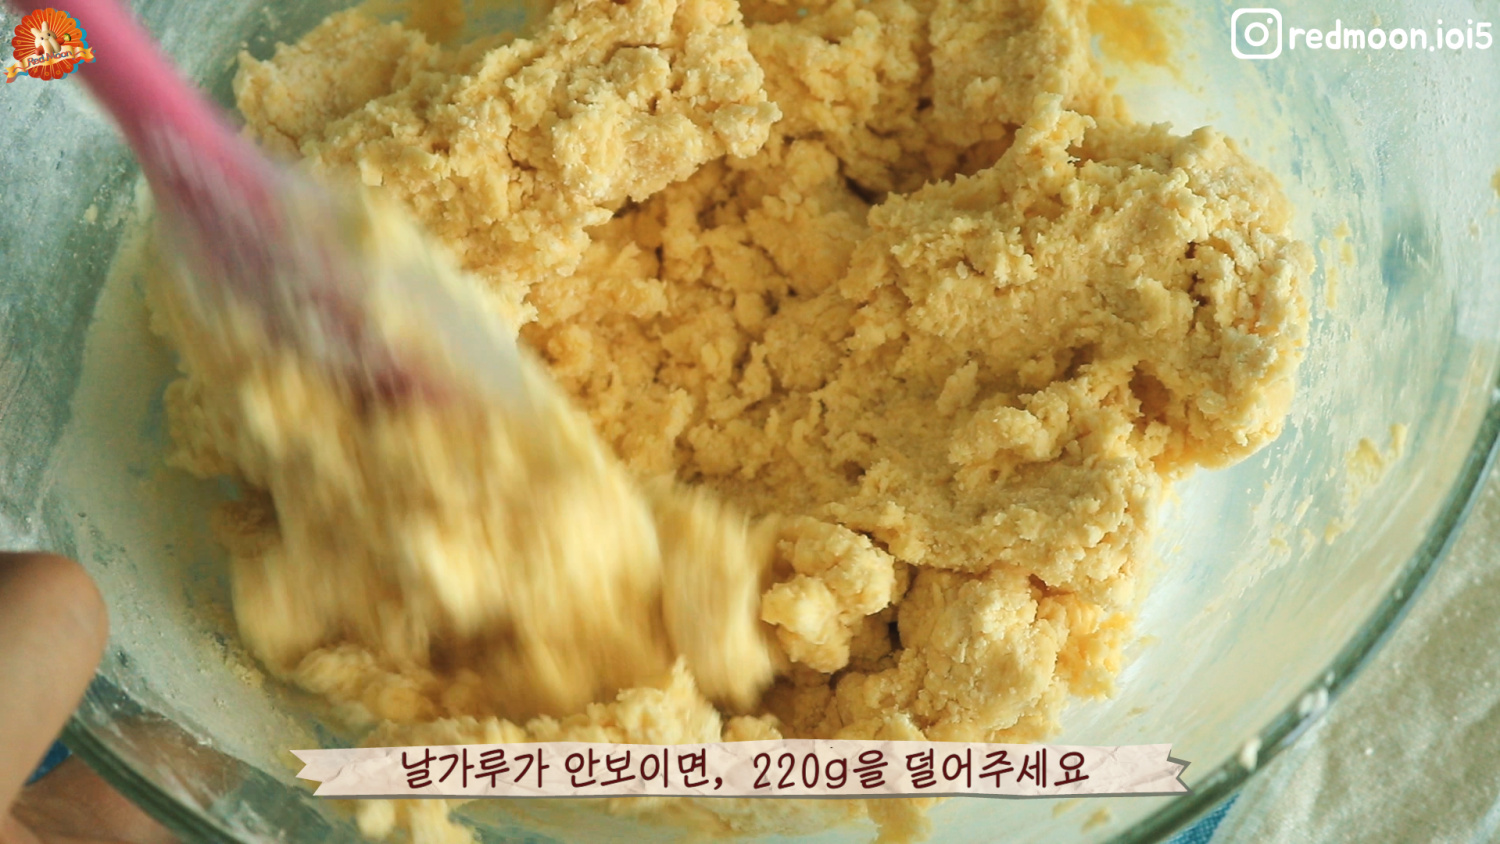 STEP 7/23*220g white dough*
And make it into a lump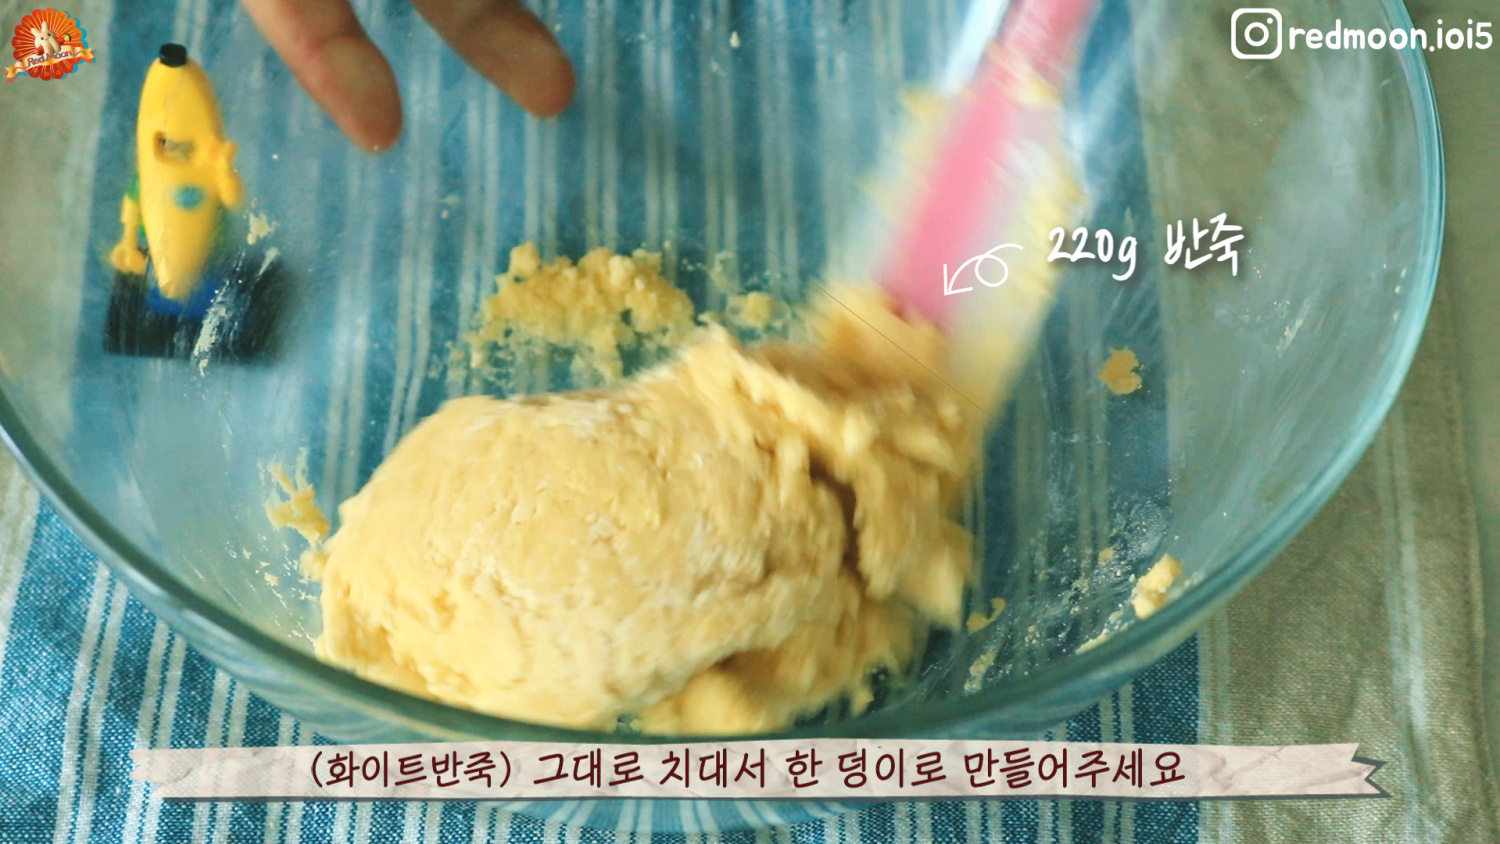 STEP 8/23*318 g cocoa dough *
Sift in cocoa powder and mix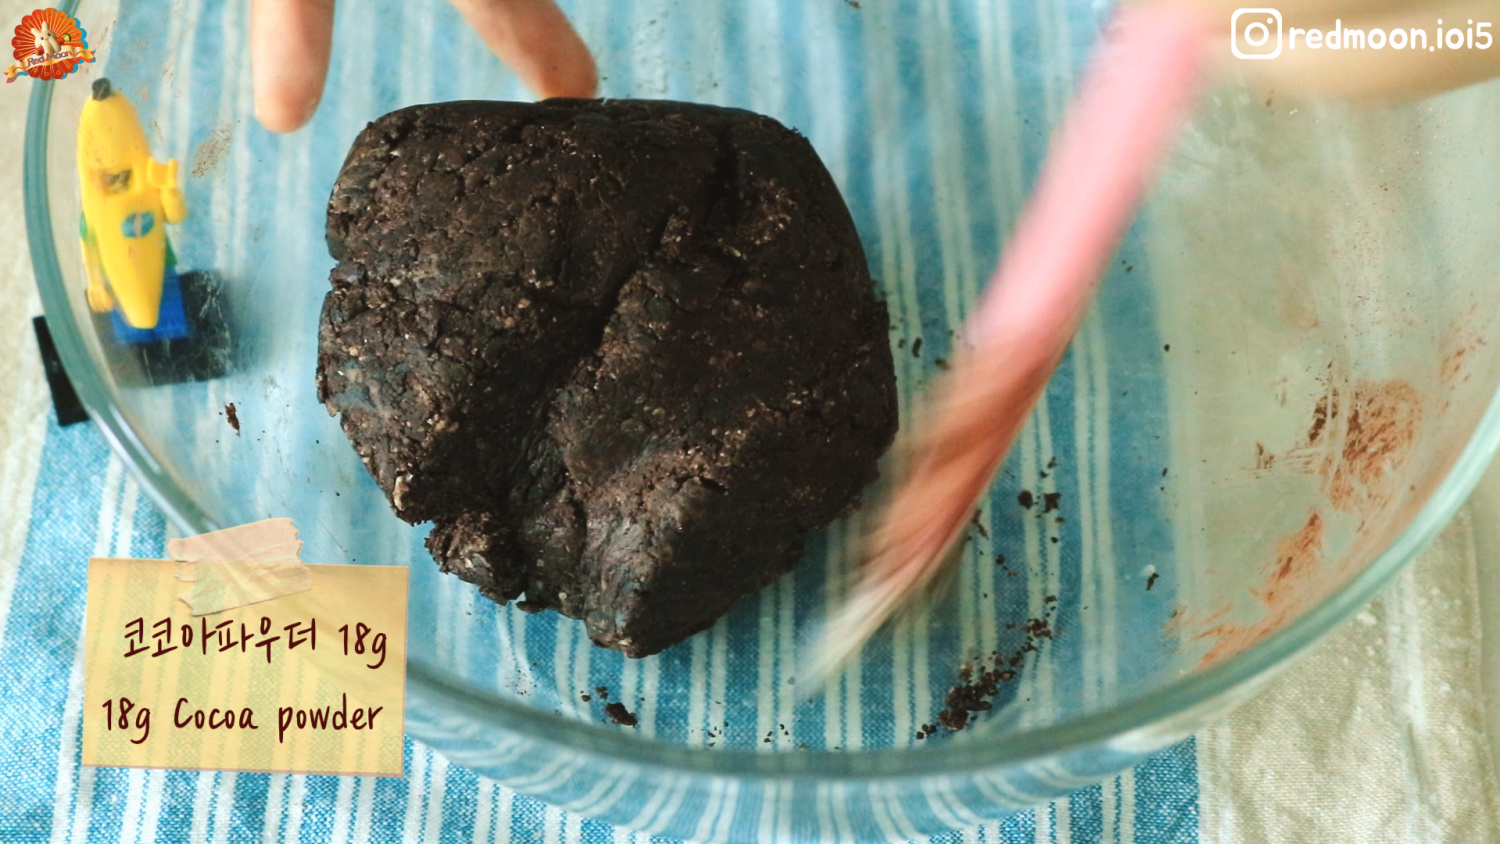 STEP 9/23Wrap each dough in plastic wrap and roll with a rolling pin
(As shown in the picture, if you push with a 1cm-thick square bar next to you, you can push it to a certain thickness.)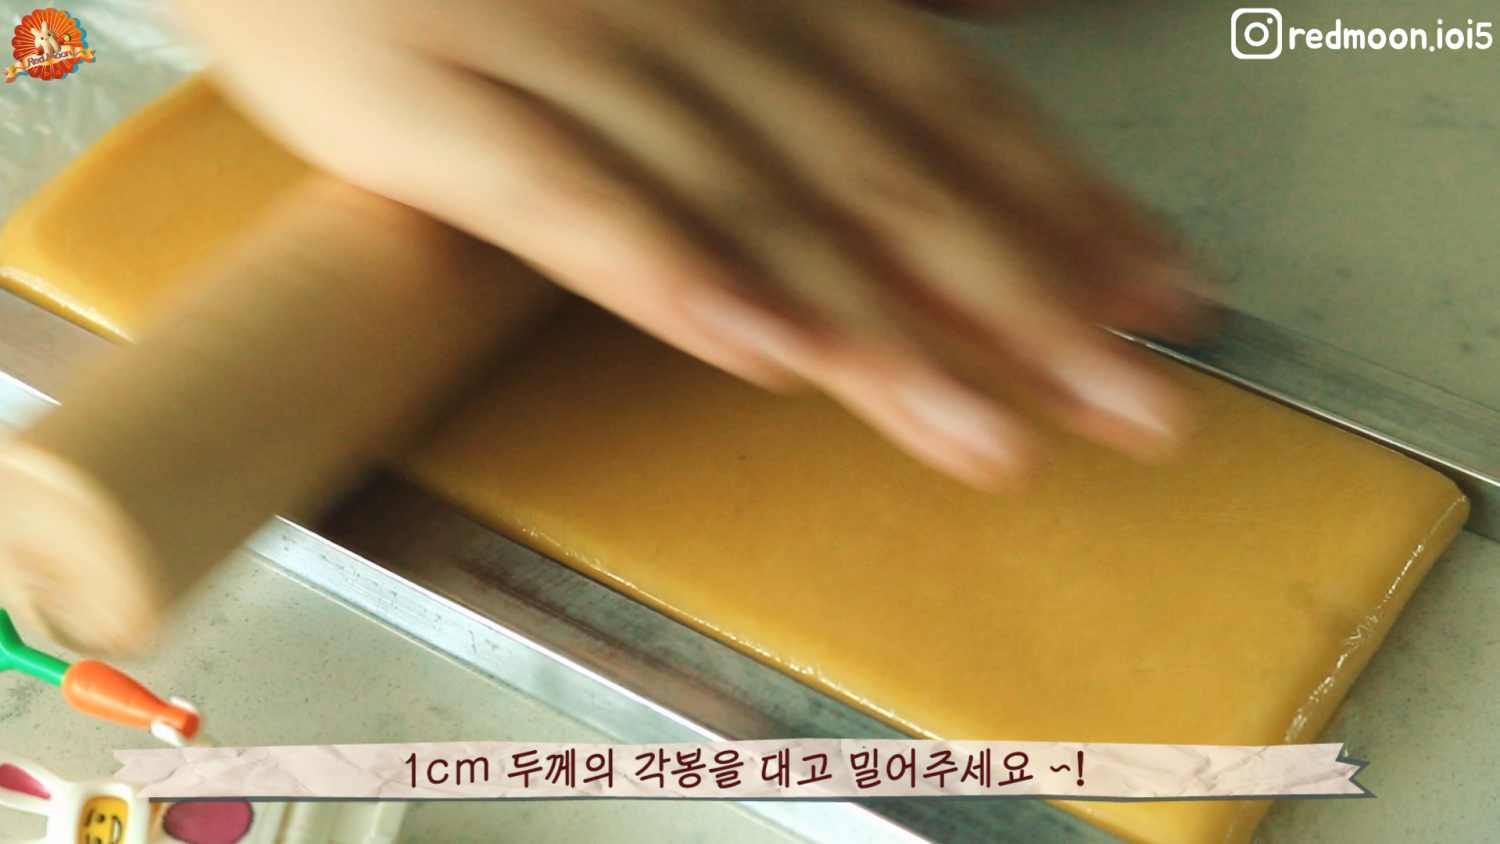 STEP 10/23Remove 100g of cocoa dough and work separately
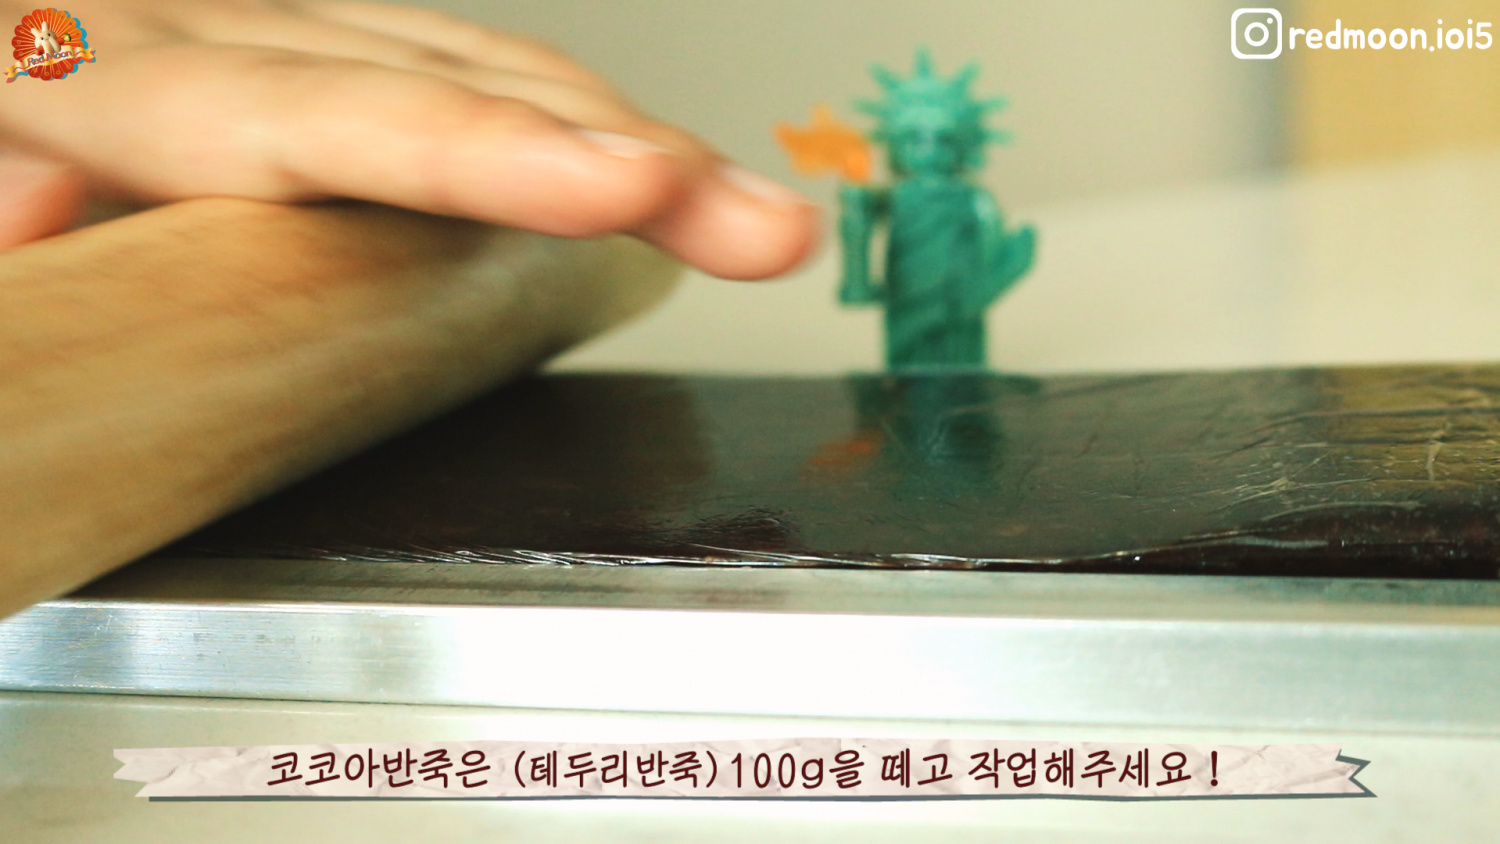 STEP 11/23Leave it in the refrigerator for an hour
 STEP 12/23Apply the white part like glue
(The order of the colors you upload is irrelevant) STEP 13/23Cut it in half vertically
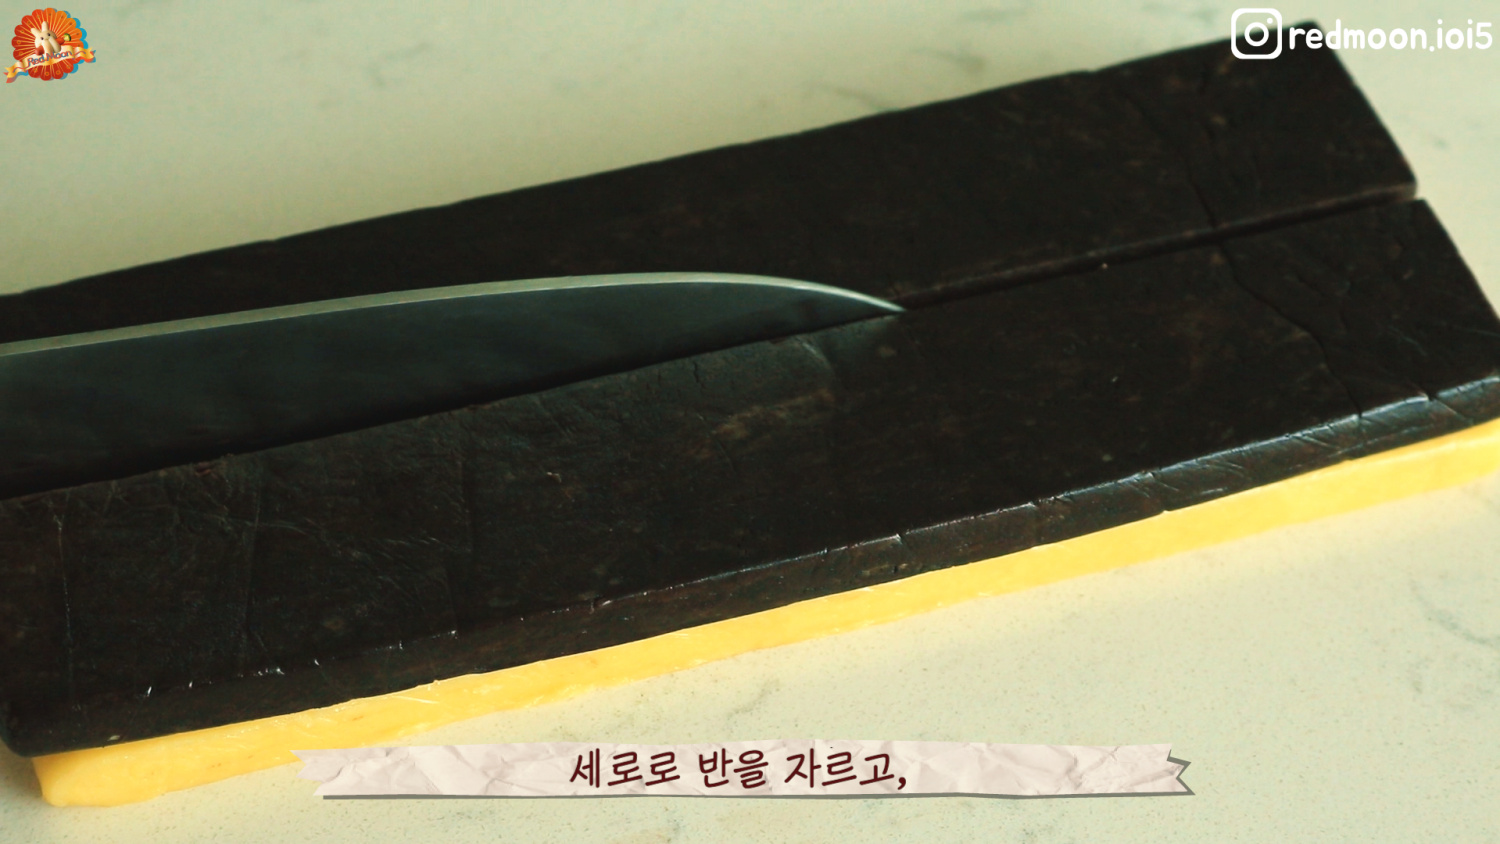 STEP 14/23Put the egg white on top and stick it on top
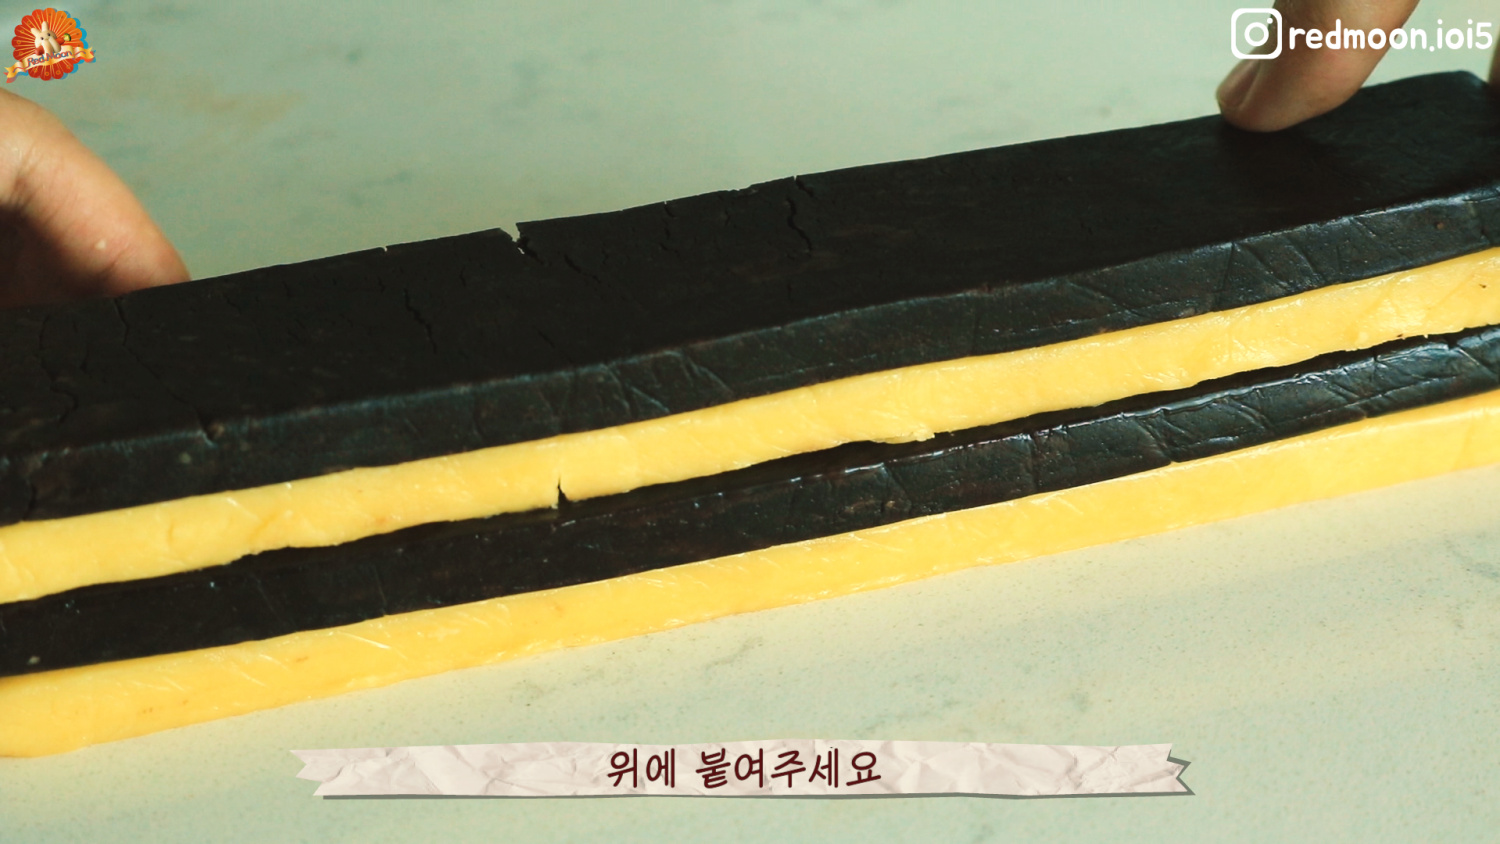 STEP 15/23Slice 4 pieces vertically
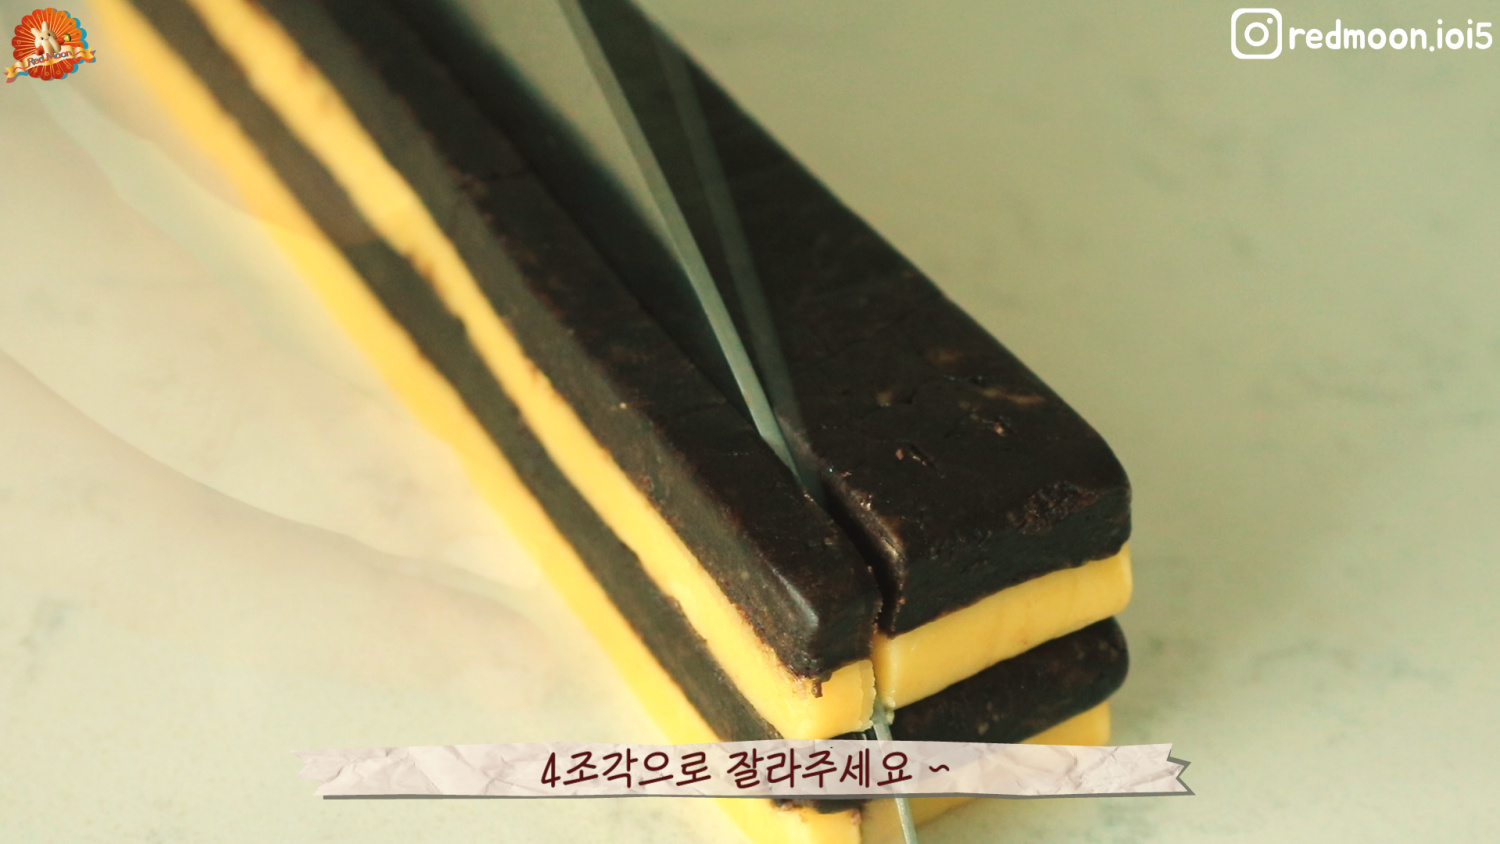 STEP 16/23Stack the patterns so that the cross section is checkered
(Apply the white to fix it every time you stack it.)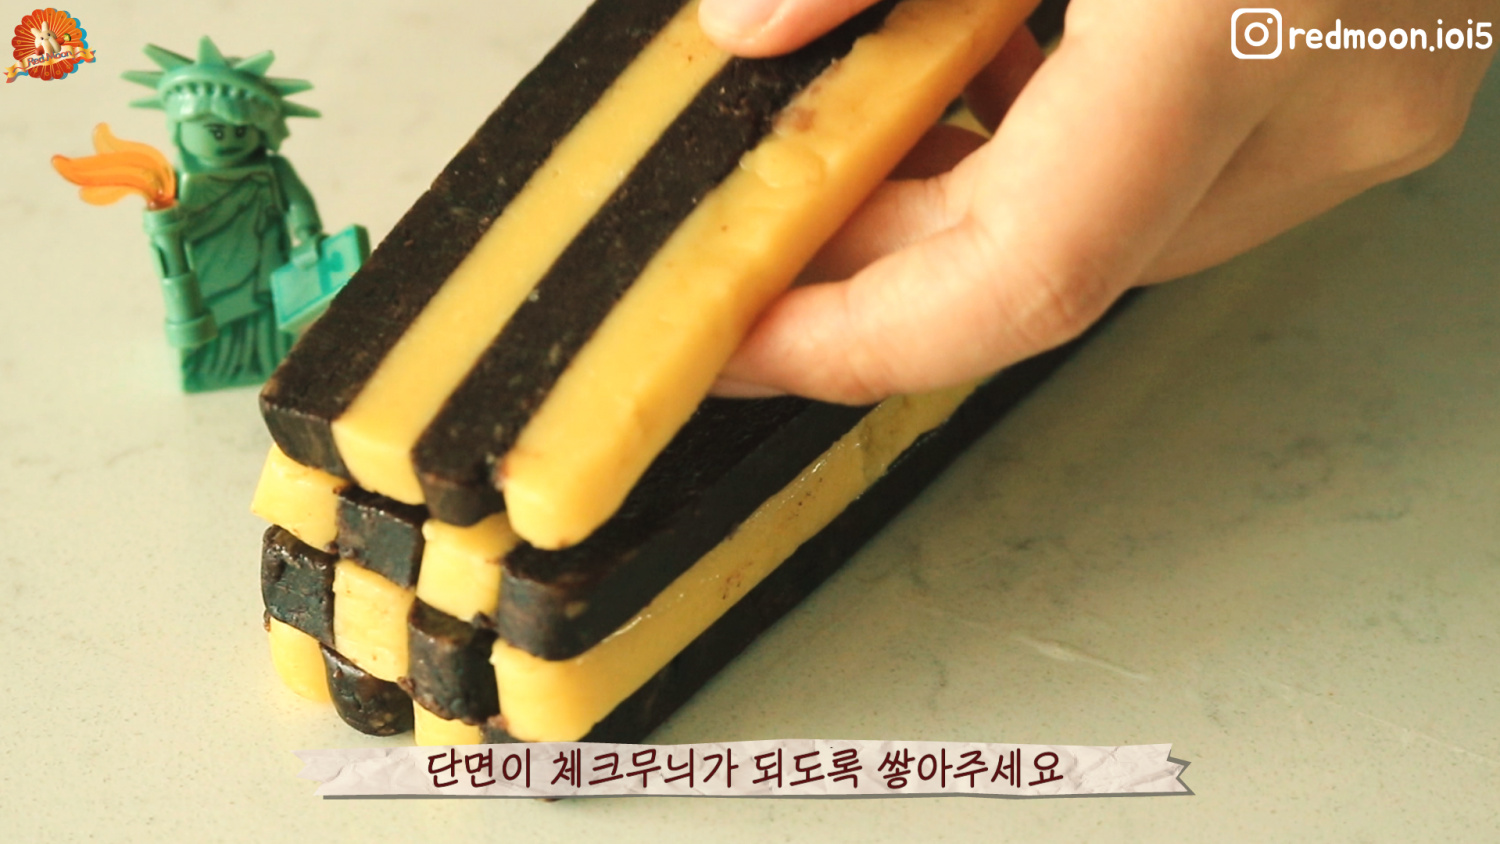 STEP 17/23Roll the remaining 100g of cocoa dough into 16x24cm
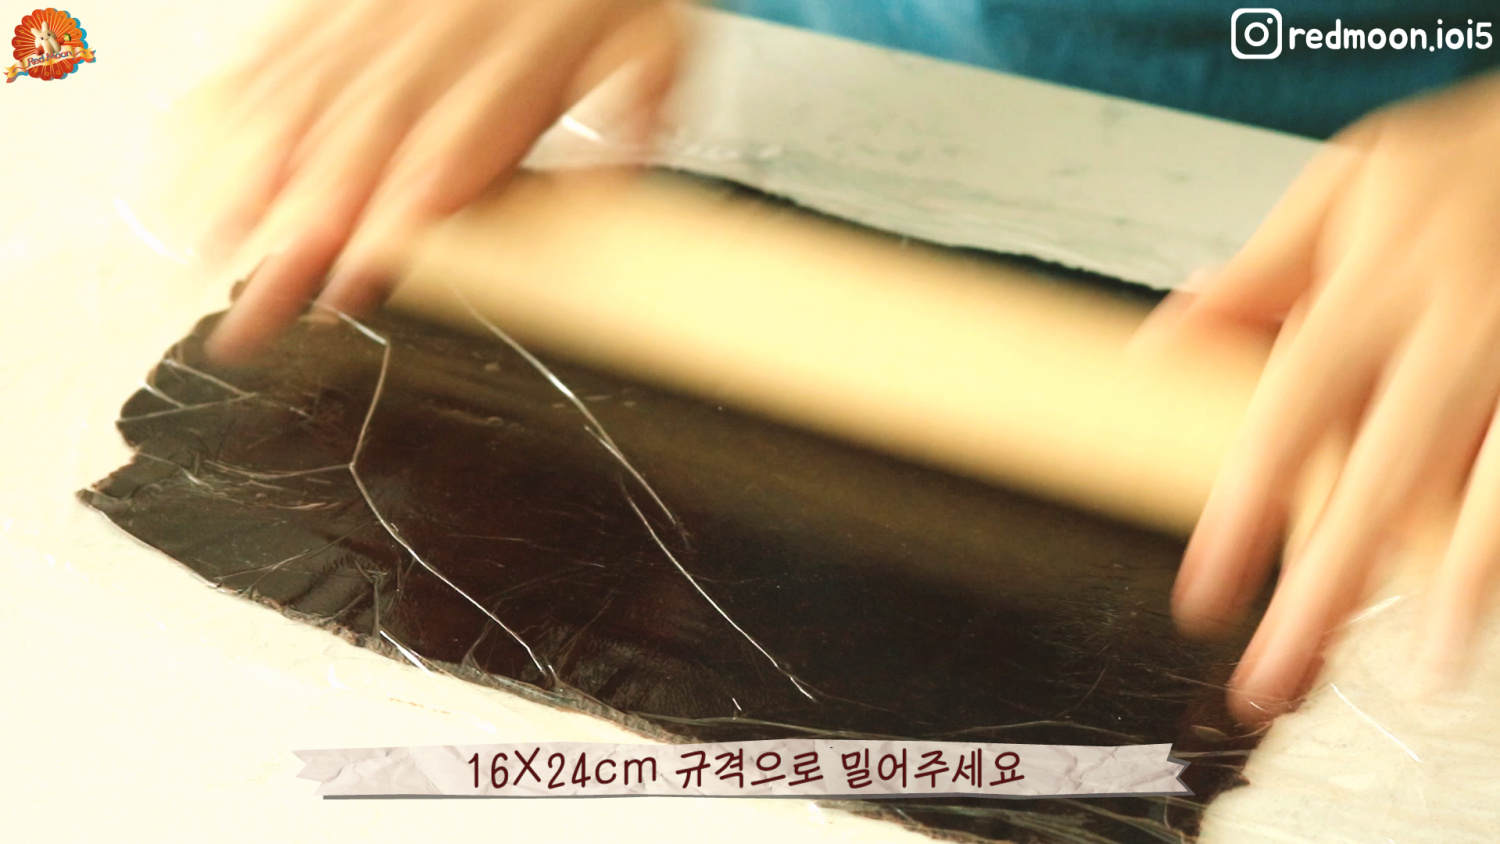 STEP 18/23Put on the white and cover it with the checkered batter
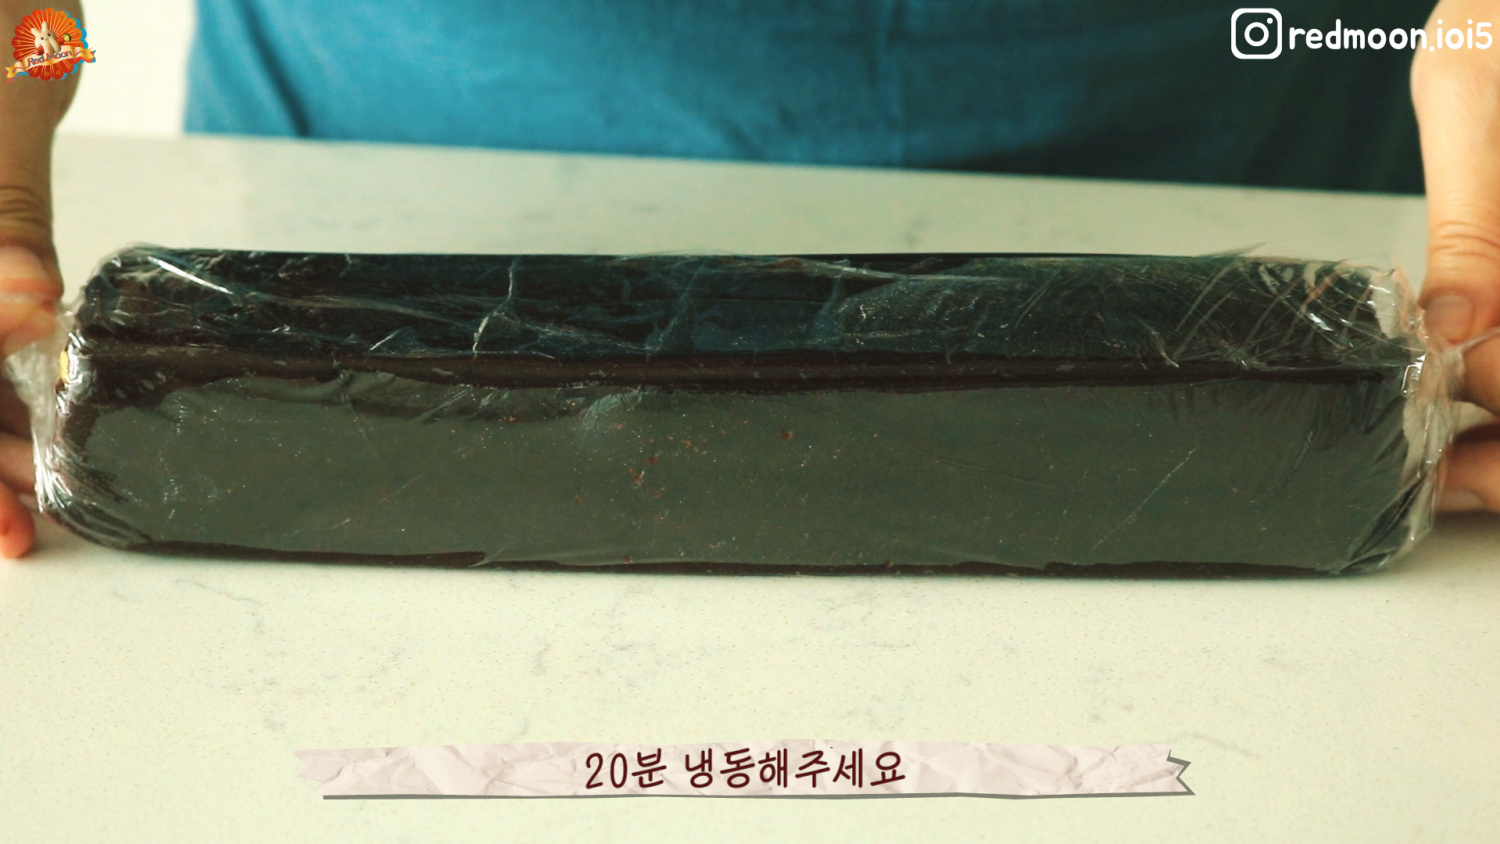
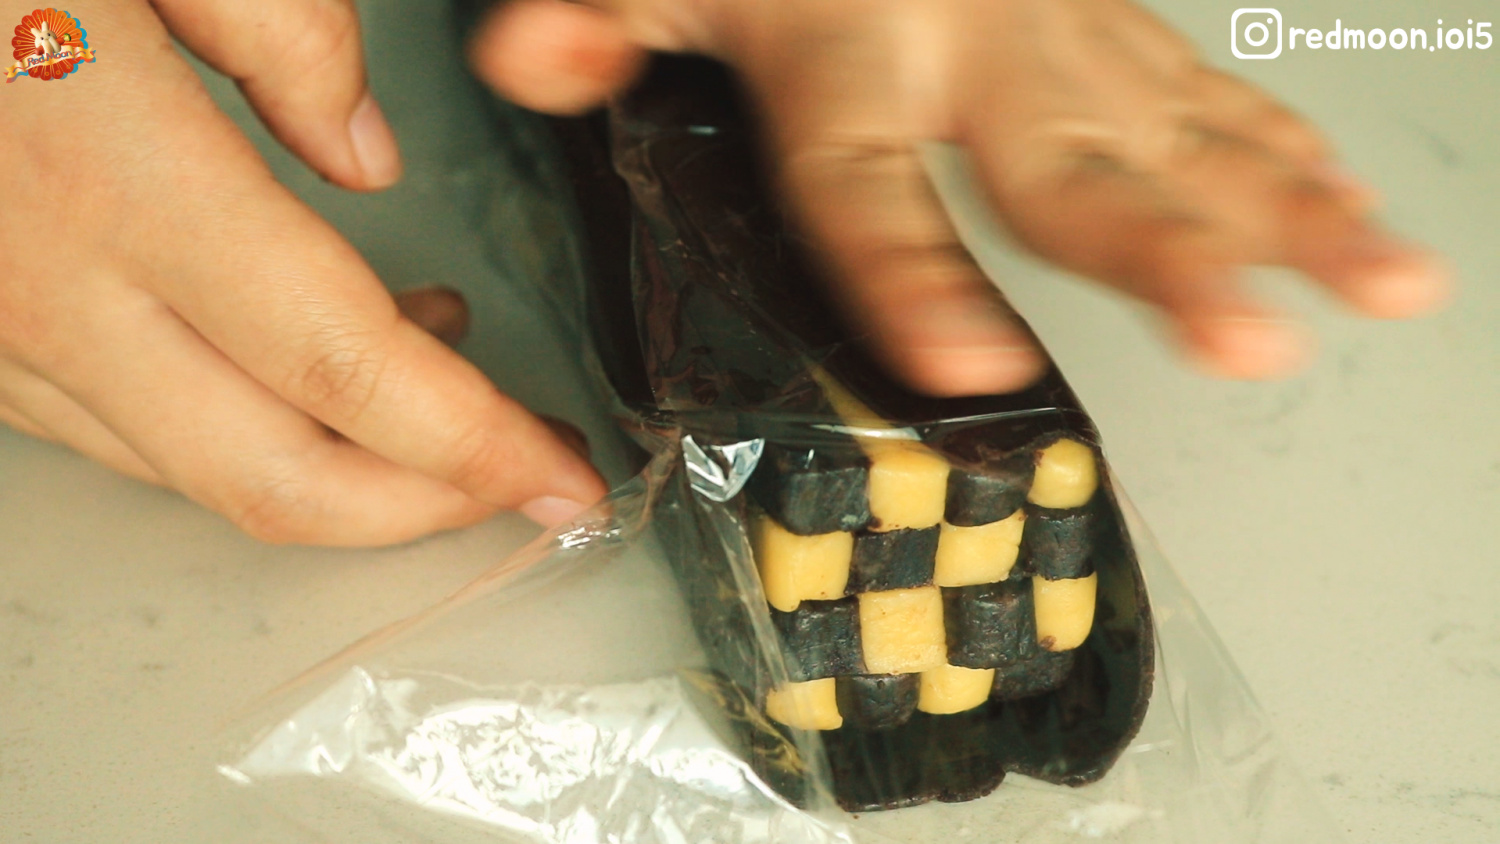 STEP 19/23Freeze for 20 minutes with plastic wrap on!
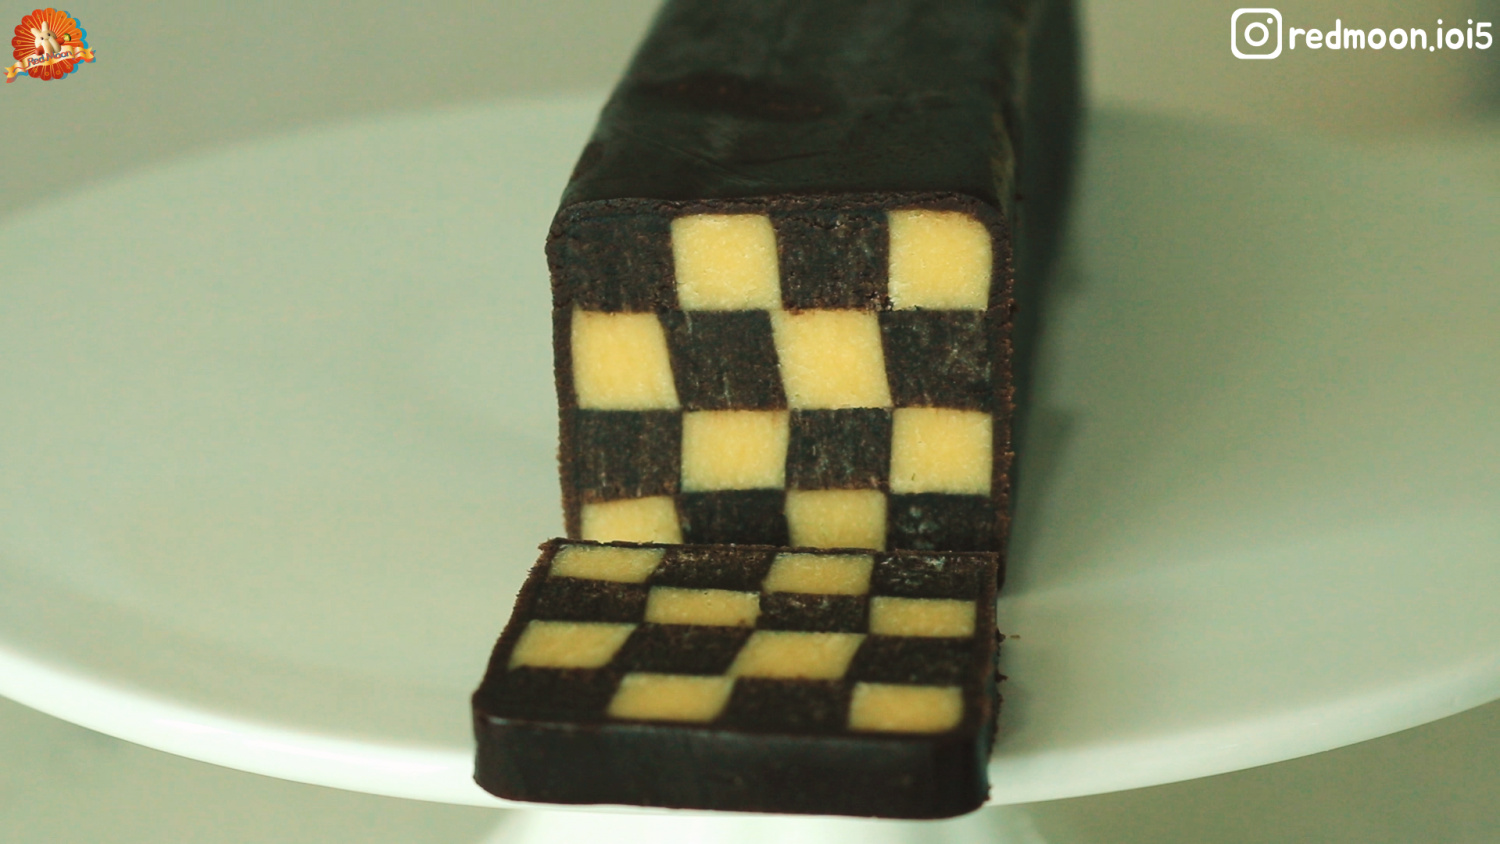
 STEP 20/23Cut it into 8mm thick pieces
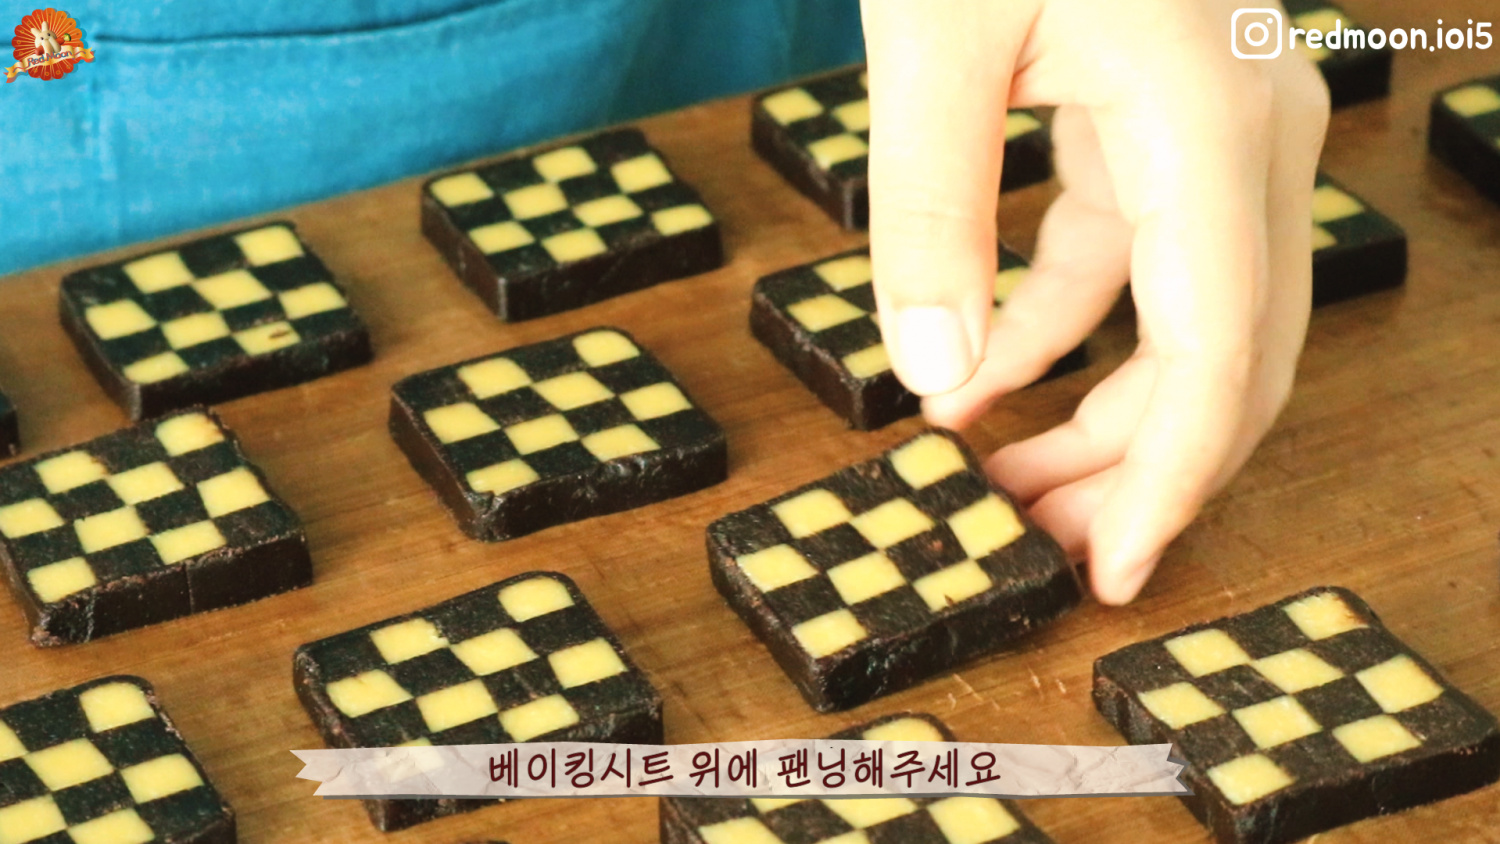
 STEP 21/23Panning on baking paper
 STEP 22/23Bake in a 175-degree oven for about 12 minutes
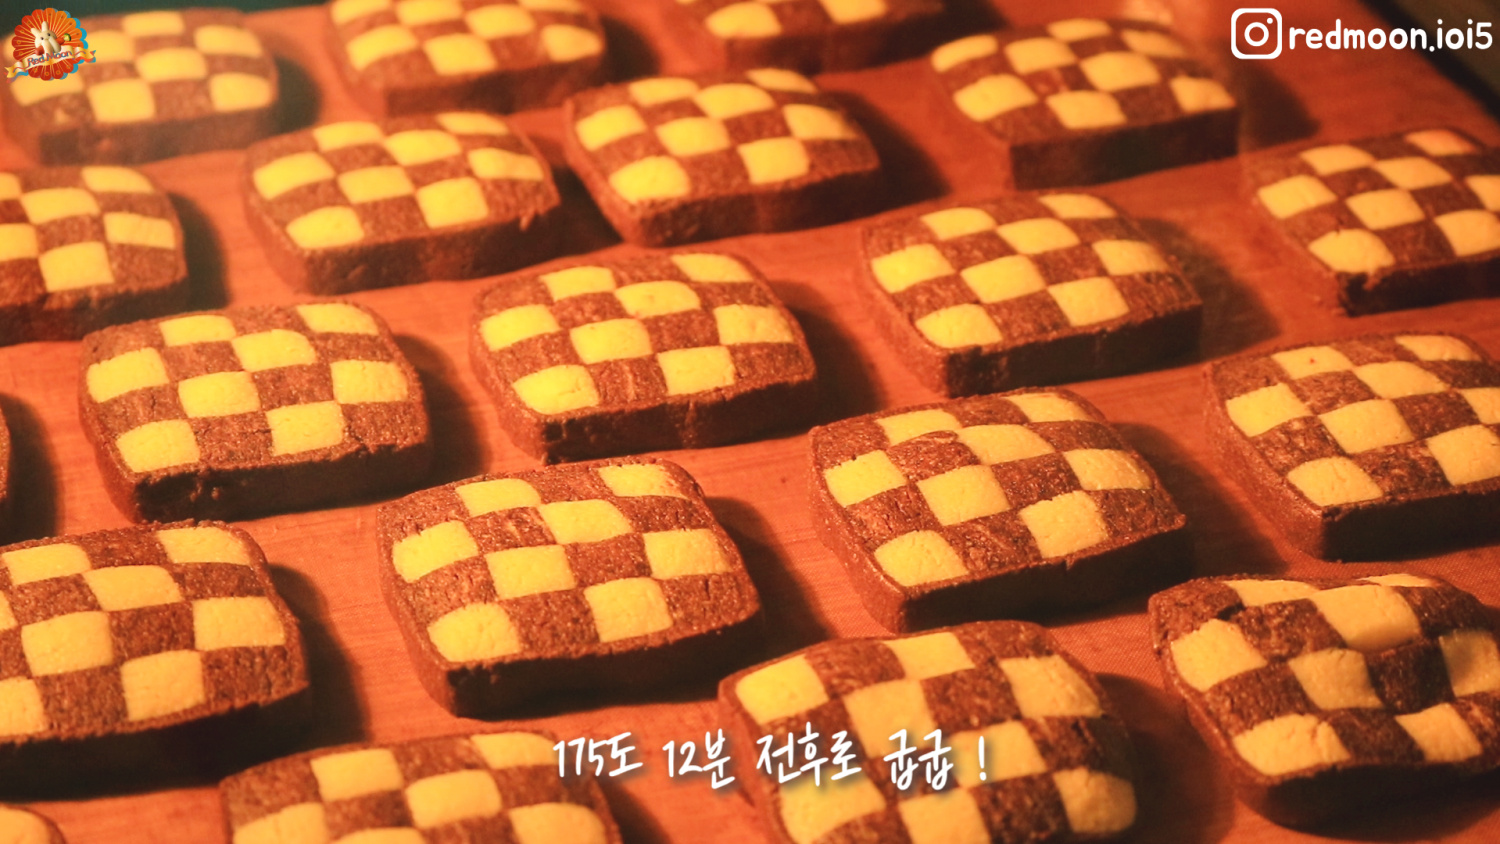 STEP 23/23The mosaic cookie is complete!!
It's crispy vanilla and cocoa cookies
*If you ripen it for a day in an airtight container
The flavor of butter and vanilla goes up.*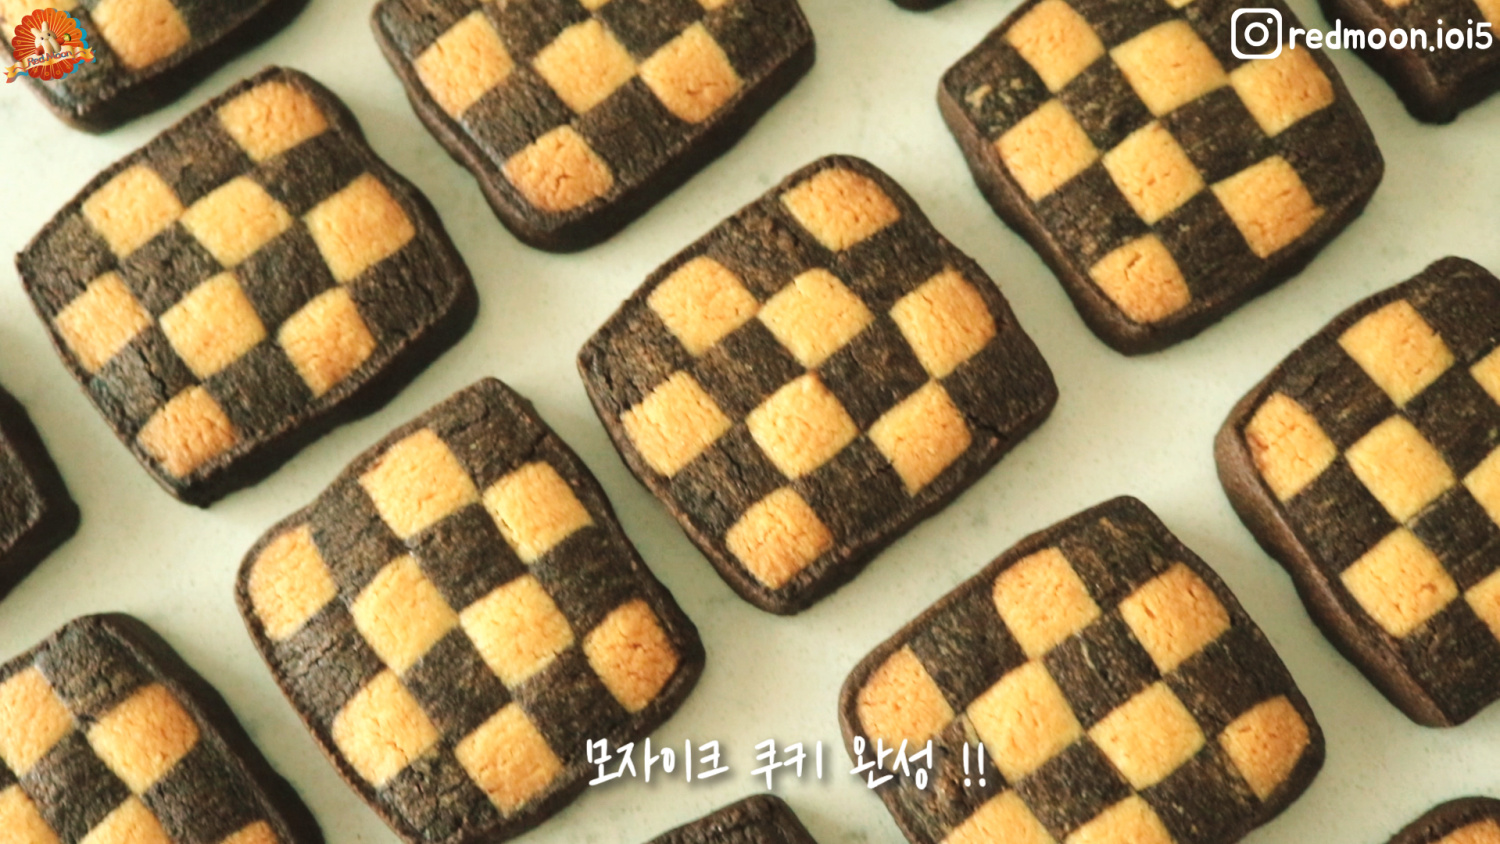
- stir-fried Rice Cake Recommended recipe
-
-
1
 As expected, Jongwon Baek's golden recipe! Use the leftover rice4.56(32)
 -
2
 Royal Stir-fried Rice Cake4.97(143)
 -
3
 Soy sauce tteok-bokki. Good for kids, good snacks4.67(33)
 -
4
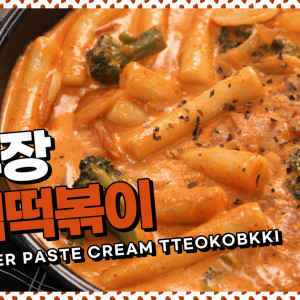 This is the Rose of Korea! Soft and spicy red pepper paste cream4.90(31)
-
- Kimchi Recommended recipe
-
-
1
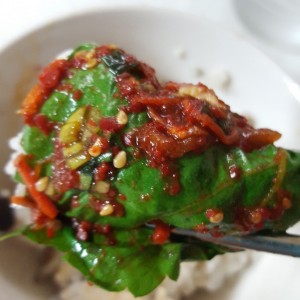 Golden recipe for perilla leaf kimchi with no regrets ^^4.84(103)
 -
2
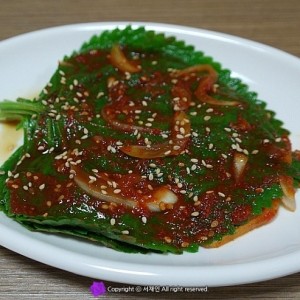 [Side dishes] Summer kimchi that you eat right away, "perilla le4.86(43)
 -
3
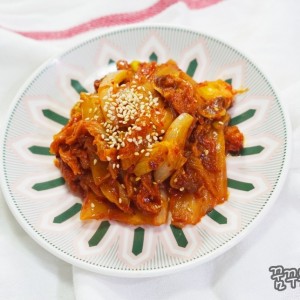 Fried Kimchi Golden Recipe Kimchi Stir-Fried Kimchi4.89(425)
 -
4
 I'm done worrying about side dishes.4.91(44)
-