
Kimchi with Kimchi (Part 1)...Pickled cabbage (detailed tip from
I decided to upload the recipe for making kimchi in detail. Haha
So, the first part is from trimming to pickling, and the second part is divided into dried seaweed slices.
These days, many restaurants buy pickled cabbage and make kimchi...I still pickle the cabbage myself. Five years ago, I bought a box of pickled cabbage and put it in with five pieces of raw cabbage...
The pickled cabbage is deeply soaked in salty taste and it's so pickled that it's watery and the texture is gone.
After that, we make kimchi by ourselves.
6 serving
Within 999 minutes
elliws재원맘
- Ingredients
-
-
Cabbage9ea
-
Radish2ea
-
leaf mustard1pack
-
Scallions1pack
-
a thick salt3kg
-
Garlic600g
-
Ginger300g
-
- Cooking Steps
-
STEP 1/30I like heavy and yellow cabbages. (highland, Haenam cabbage)
Cut the root of the cabbage neatly.Remove 2 to 4 tough outer leaves. (Pickle strong cabbage leaves and use them as kimchi covers.)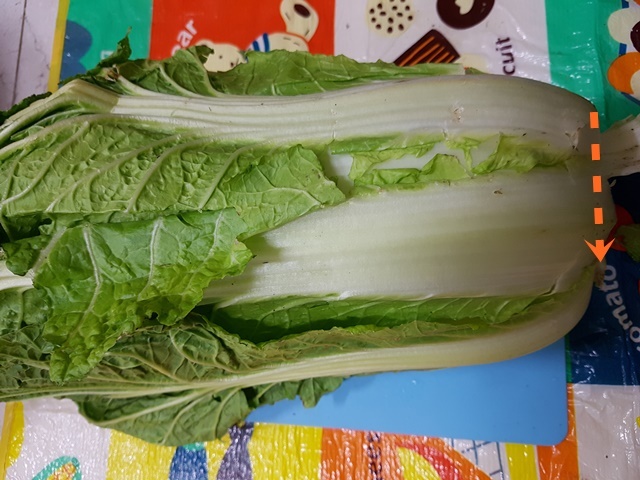 STEP 2/30Lay it down and cut it in half with a knife. Put in a third of the cut in the front and cut it with your hands.
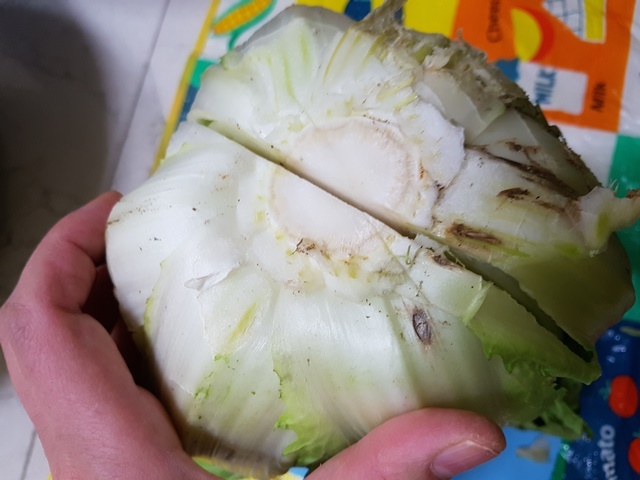 STEP 3/30Cut out the white wick for the second-order portion of the filling is not full.
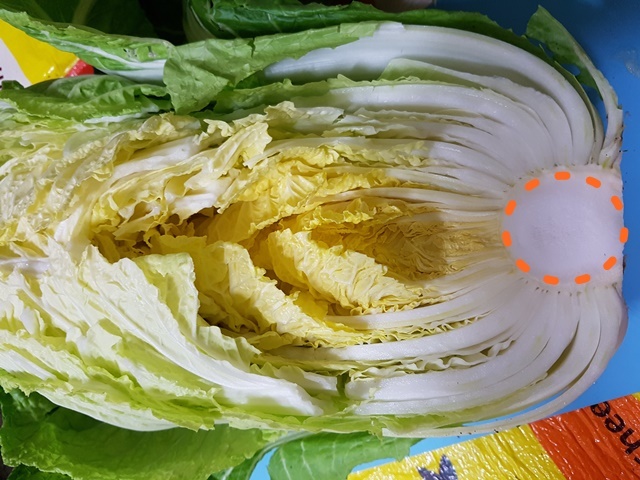 STEP 4/30Cut the full cabbage into quarters...It's convenient to cut out the white wick by standing up a quarter of the head.
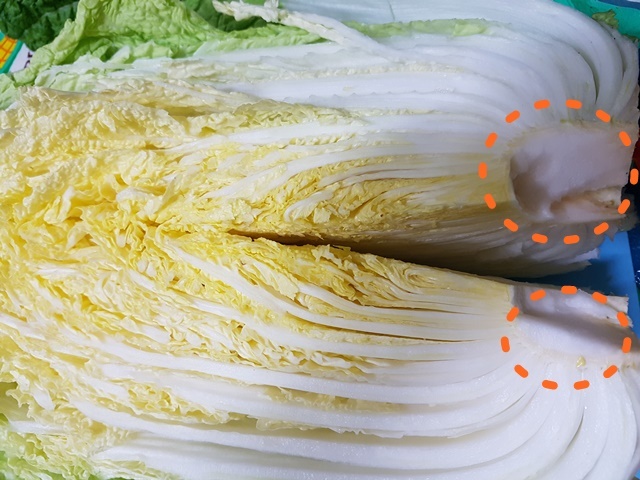 STEP 5/301 cup of thick salt is filled with paper cups
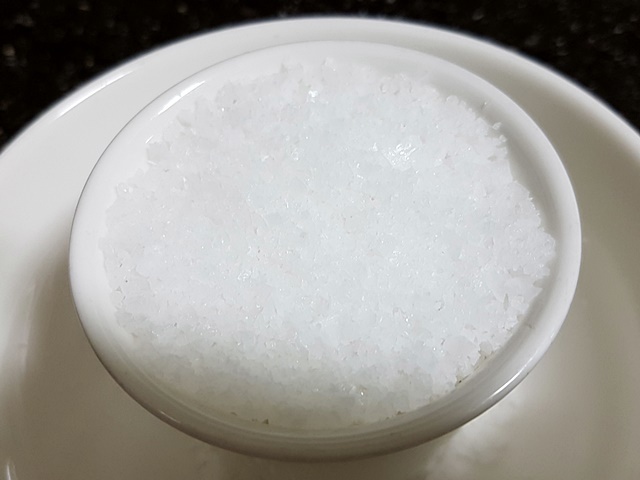 STEP 6/30Fill a large skillet with 3/5 taps of tap water, add 3 cups of salt, and melt it well. Salinity is 12% (warm water on cold days)
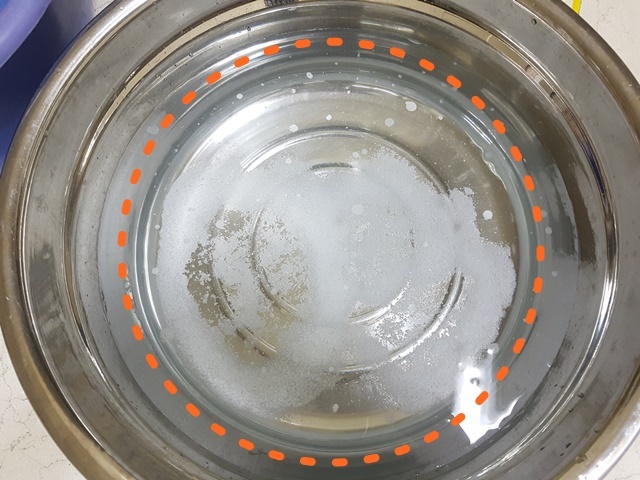 STEP 7/30Let the white part of the cabbage soak in salt water for 30 minutes. The white part is much thicker than the green part, so you have to pickle it first.
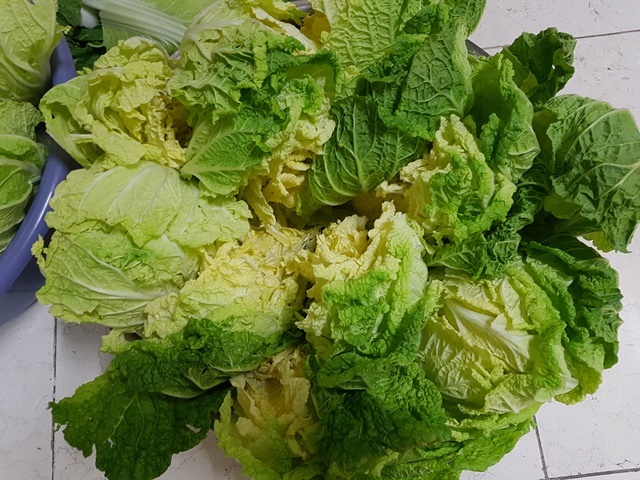 STEP 8/30Sprinkle the salted cabbage with salt between the white parts. Spray the green part gently.
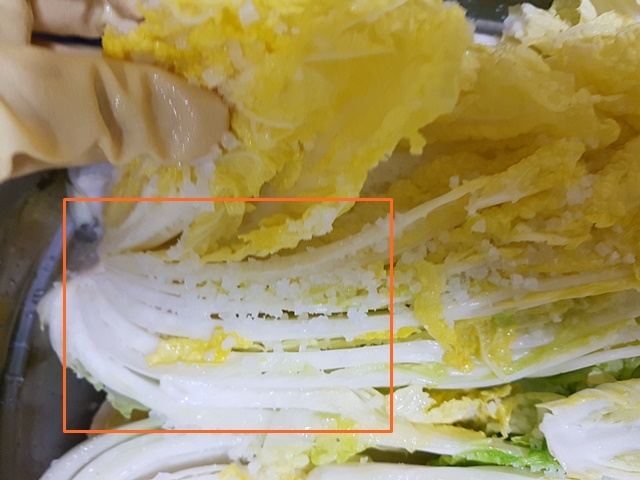 STEP 9/30Lay down the salted cabbage in the basin with salt water.
 STEP 10/30I pickled it in the kitchen for a total of eight hours. I changed the position of the cabbages on the bottom and top. Once every two hours
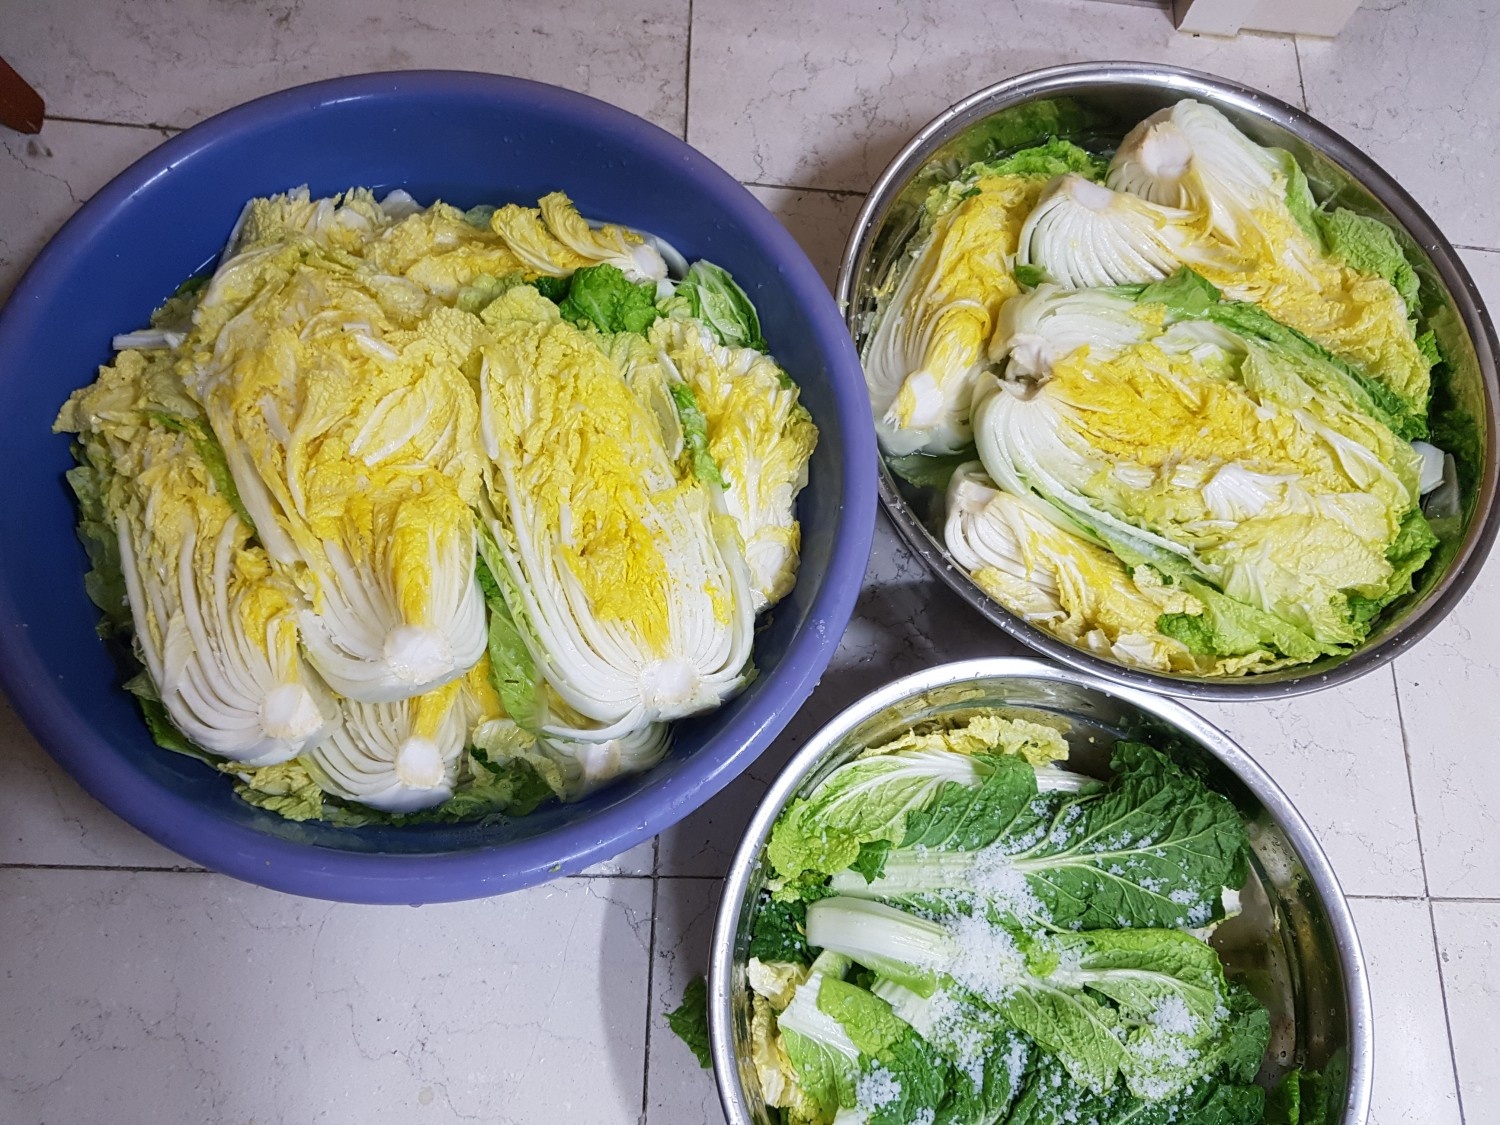 STEP 11/30Well pickled cabbage folds well when folded in half. If the white part is tight and doesn't bend well, it needs to be pickled more. If it's too pickled...The sweet taste of cabbage is gone.
 STEP 12/30Rinse the cabbages 3 to 4 times. Fill it with water to soak the cabbages, and wash the slippery salt in the white part between the cabbages in running water so that the salt doesn't taste bitter.
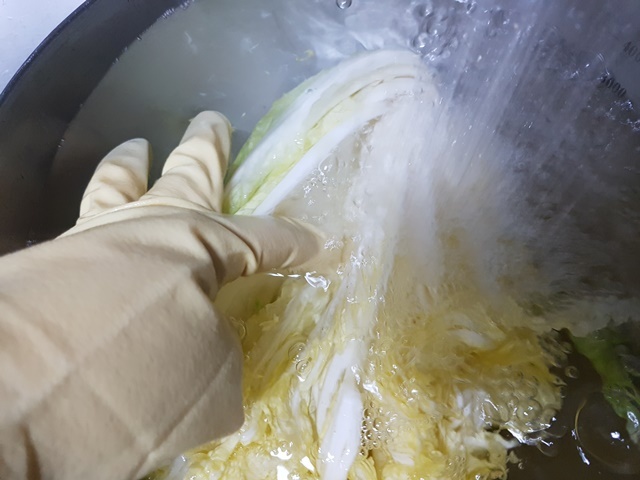 STEP 13/30Prepare a mini strainer. Remove the skewers from the cabbage with a sieve. When you season it later, just season it separately. Drain the cabbage for 2 hours
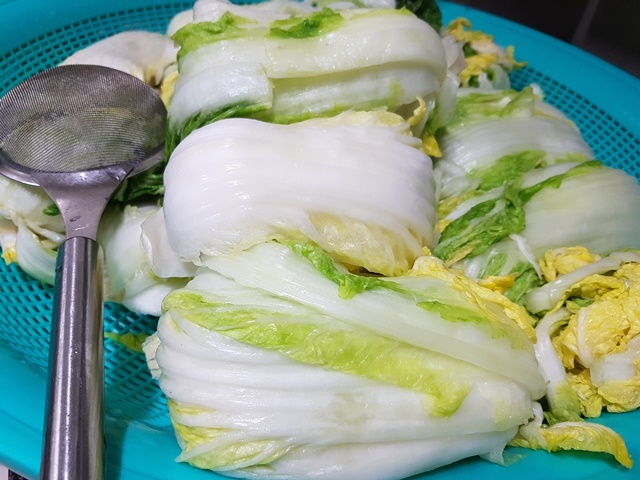 STEP 14/30Trim vegetables > Cut chives on a newspaper. There's a lot of dirt on the roots.
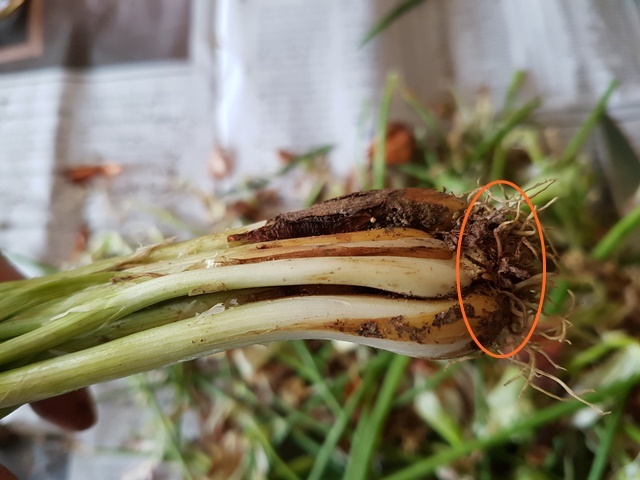 STEP 15/30Grab a bundle of 5 to 6 and cut off the root beard. It's easy to peel the skin from the cut.
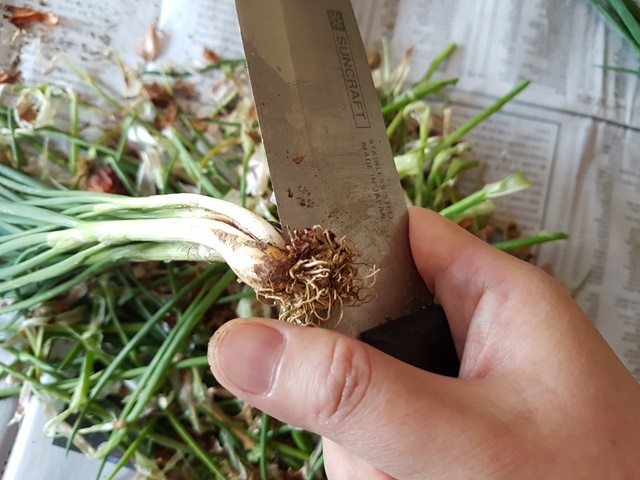 STEP 16/30Cut the yellow part at the end of the chives. It's convenient to wash when you put the chives neatly.
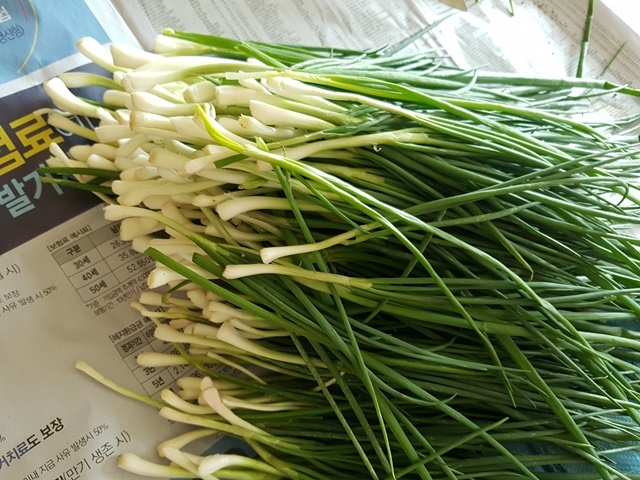 STEP 17/30Cut the end of the stem and remove the yellow leaves.
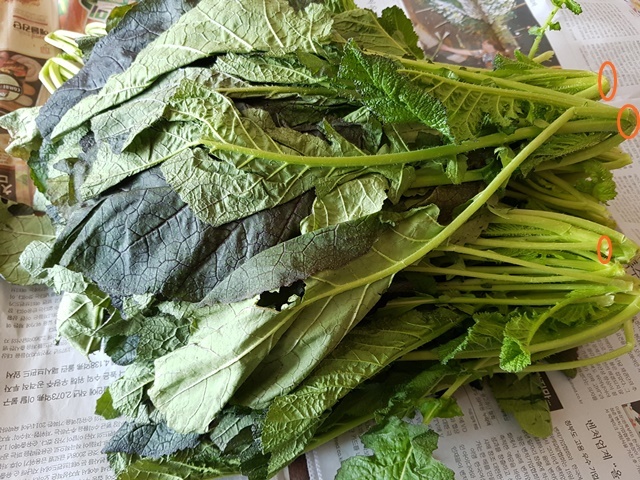 STEP 18/30Put it neatly.
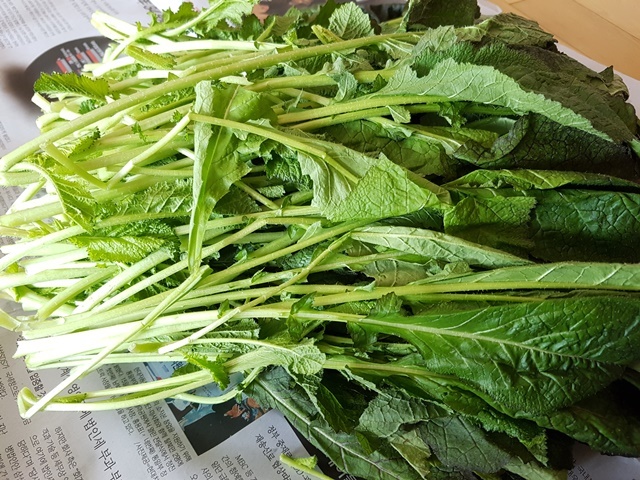 STEP 19/30Dongchimimu, level 1...I didn't put it in the kimchi because the radish was too thick and strong. Pickle the soft radish for 30 minutes and use it as a kimchi ingredient with chives and garnish.
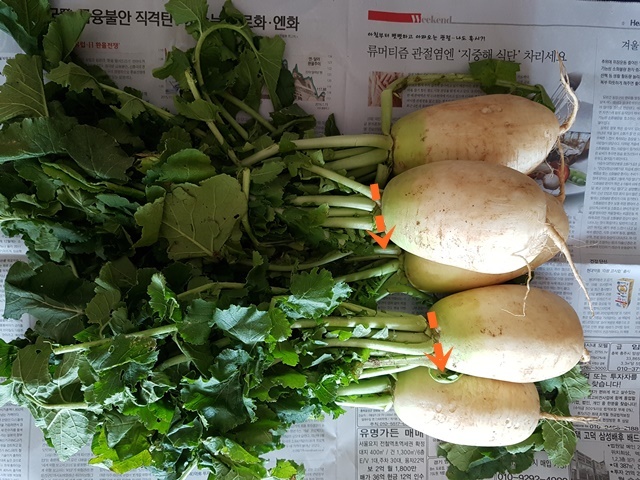 STEP 20/30Mucheong Seaweed> The bottom needs to be a little attached to dry Mucheong easily.
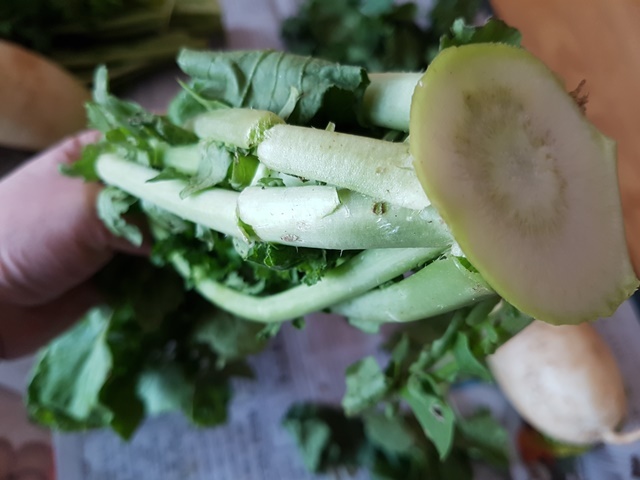 STEP 21/30a radish with a stem cut out
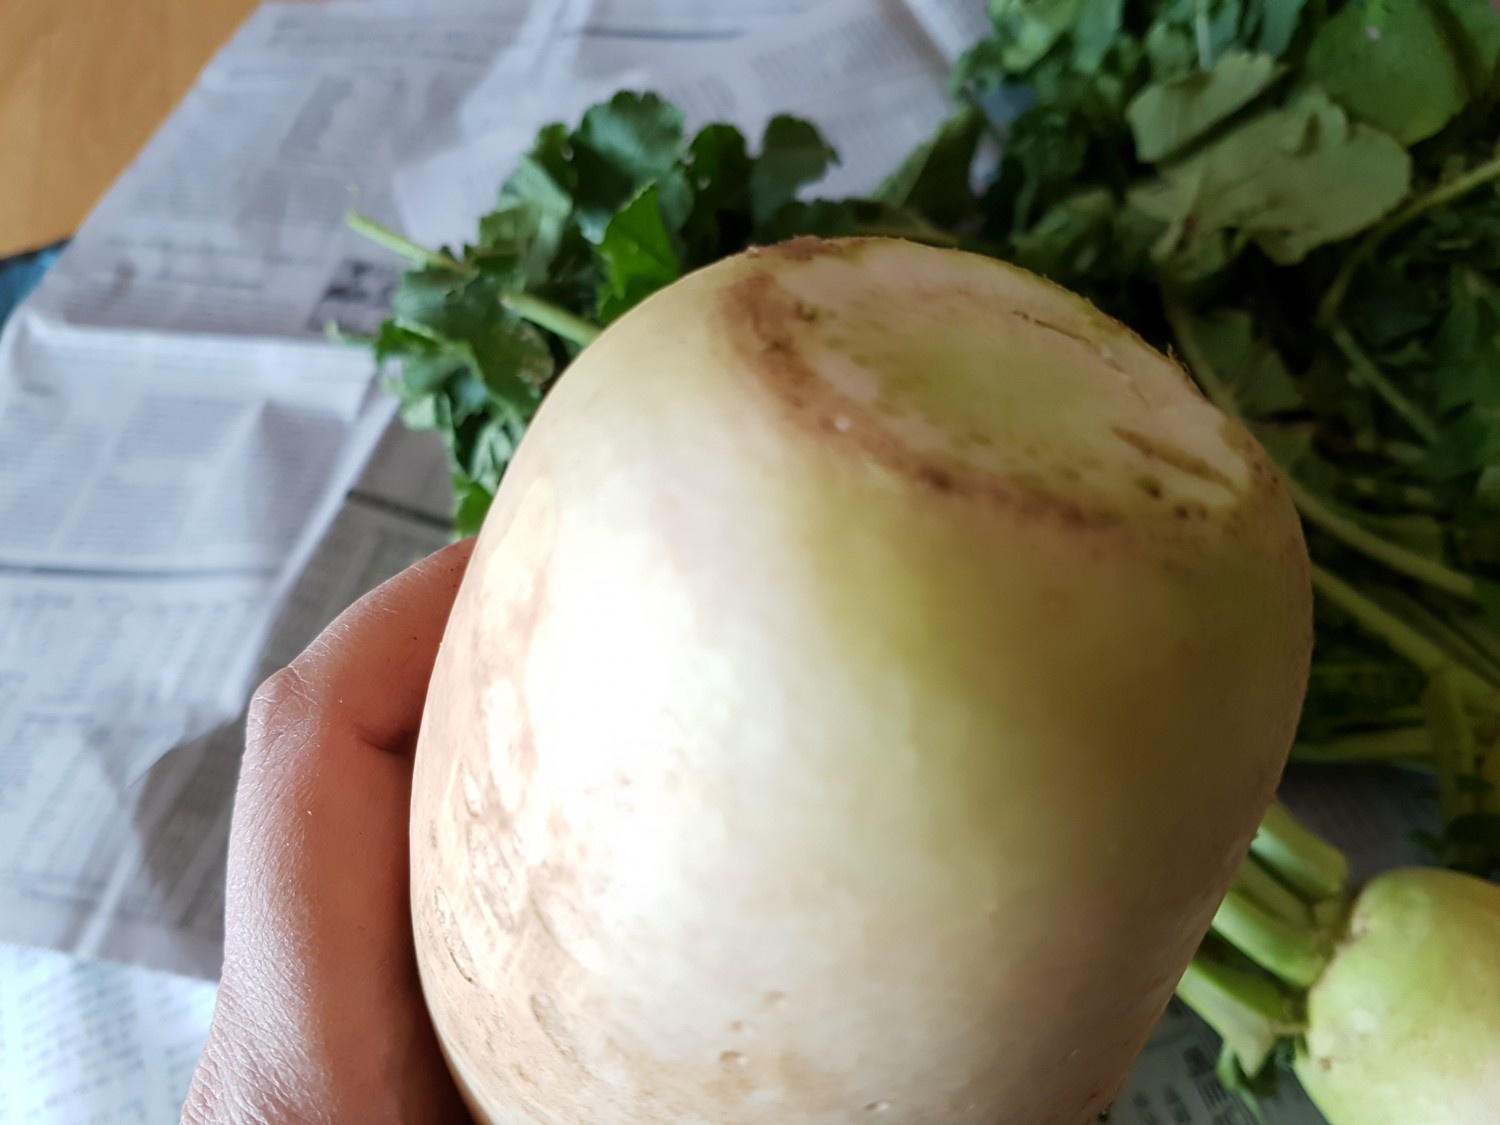 STEP 22/30Cut off the front mustache and remove residual water from the body. Dongchimimmu is for mixing the whole skin. If you wash it with natural acrylic scrubber, it'll wash well.
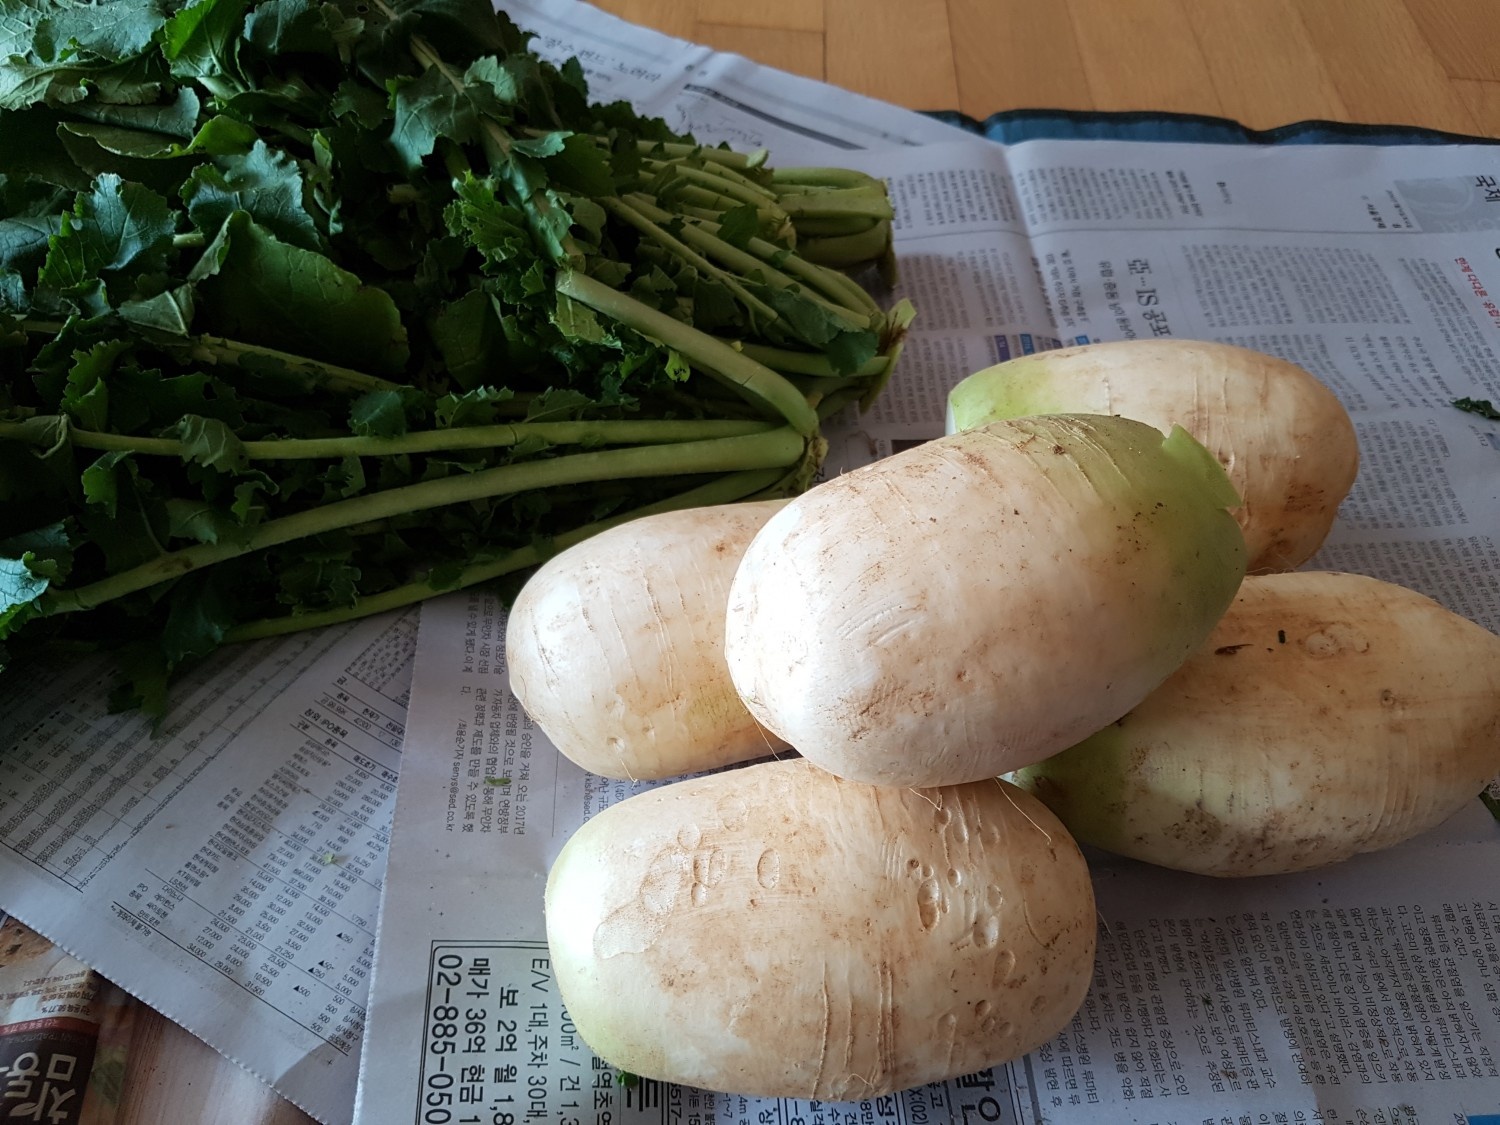 STEP 23/30Make four long pieces vertically. Cut it into 1cm thick pieces. (Fan shape)
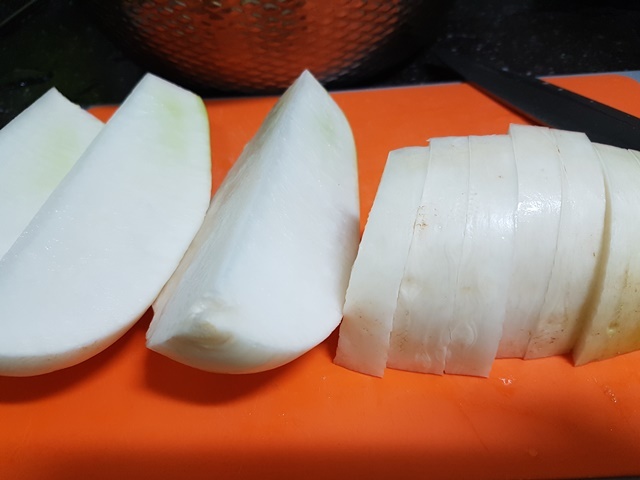 STEP 24/30Sprinkle 1 cup of thick salt evenly on 5 dongchimi radishes.
Pickled for an hour. Change the position of the top and bottom once in a while. Shake the whole bag.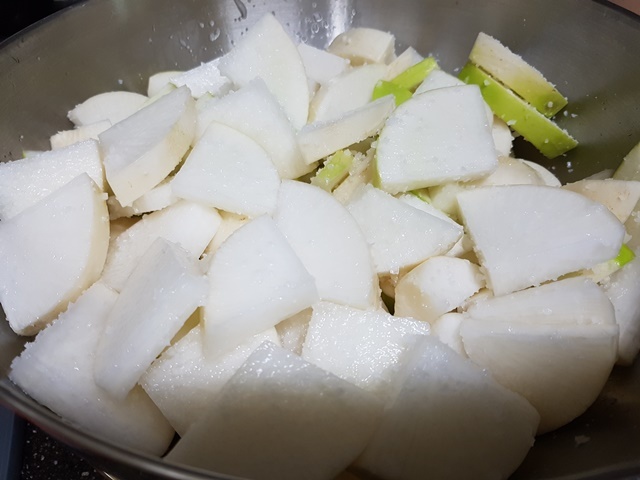 STEP 25/30When I touch one... If you bend it slightly, it has to feel soft and elastic to make it properly pickled.
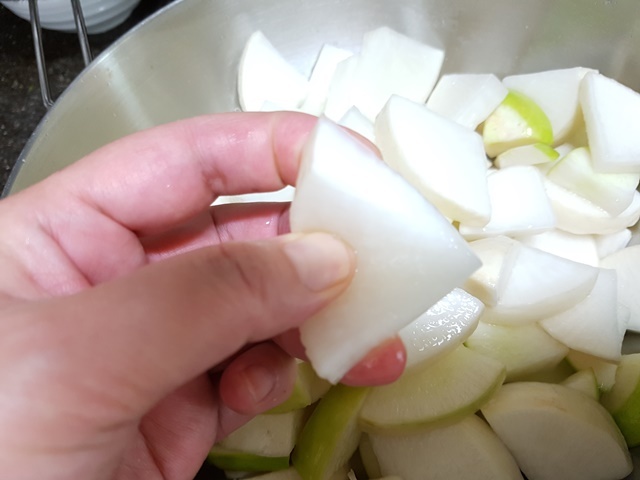 STEP 26/30Rinse it once with water and put radish on the sieve.
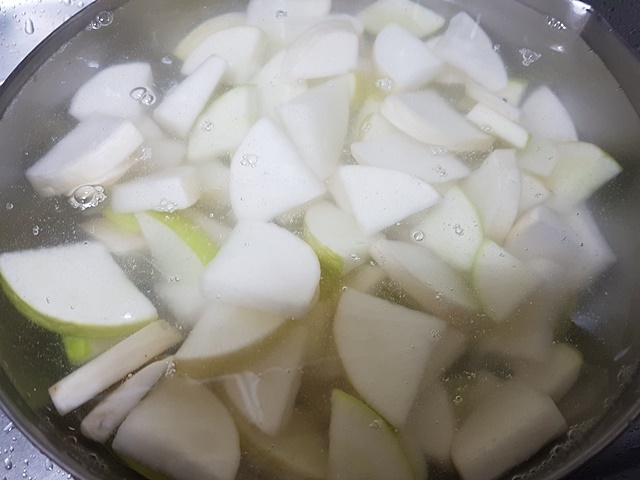 STEP 27/30Cut out the protruding part of garlic with a garlic with a knife. If you just use it, the seasoning looks black and I don't want to see it like a t-shirt.
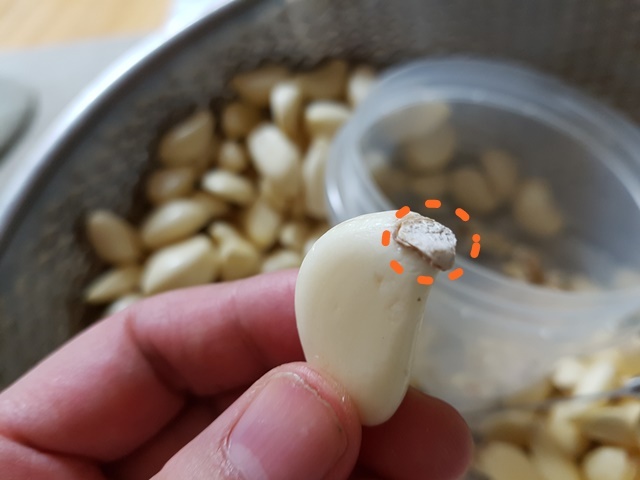 STEP 28/30Wash ginger in water to remove soil and gently scratch the skin with the middle of the fruit.
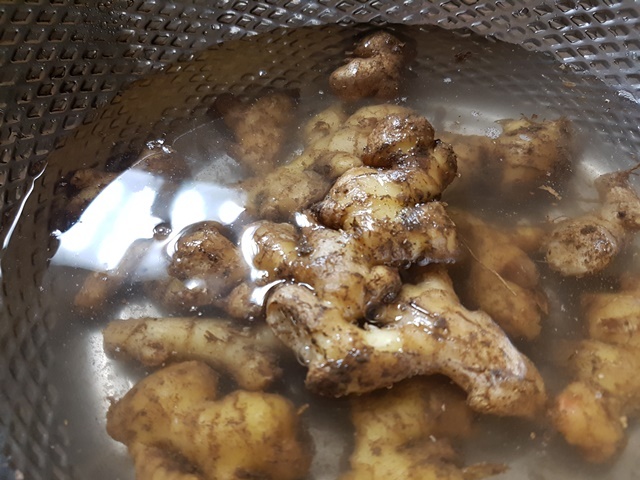 STEP 29/30Put the ginger that was first scratched into a small onion net. If you put water in a container and rub it quickly, the skin will peel off more neatly. (If you soak it in water for a long time, the taste and aroma of ginger will disappear.)
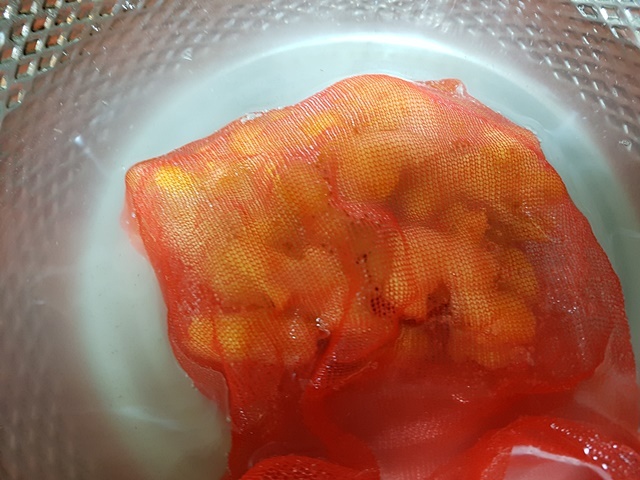 STEP 30/30Put sliced garlic and ginger in a sieve and wash them under running water to shake off the water and remove the water. (If you leave it at room temperature for an hour, the water almost disappears.)
 The key point of kimchi is to pickle properly. That's why salt is the most important. Use coarse salt (domestic) without the sauce. On cold days when it's below zero, pickle with lukewarm water. I used 3kg of thick salt to pickle cabbage and dongchimi. Kimchi making episode 2 (@6860737) with a clean and cool taste
- Cooking review
-
5.00score
-
 650*****scoreEvery time you make something, it becomes a masterpiece2020-11-09 21:36
 -
 515*****scoreI loved the detailed explanation I think it will help me a lot when I make kimchi next week Thank you.2016-11-20 23:36
-
- Japchae Recommended recipe
-
-
1
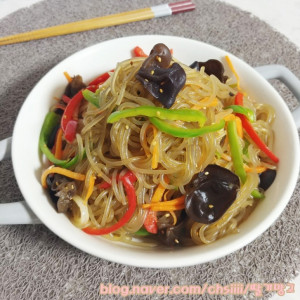
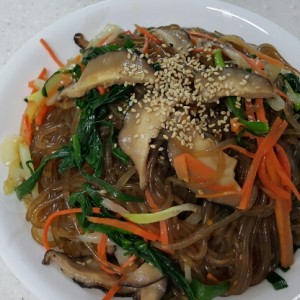 A more delicious japchae with a golden recipe4.87(15)
 -
2
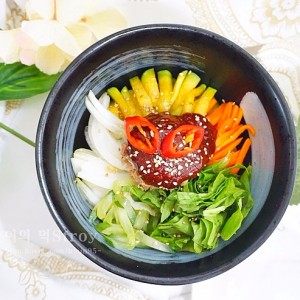
 Crunchy! Spicy! Taste that you keep eating Spicy bean sprouts4.60(15)
 -
3
 Meatless japchae (paprika japchae with only vegetables)4.88(16)
 -
4
 Spicy bean sprout japchae4.79(127)
-
- Bibimbap Recommended recipe
-
-
1
 How to make tuna lettuce bibimbap. Bringing summer taste with go5.00(10)
 -
2
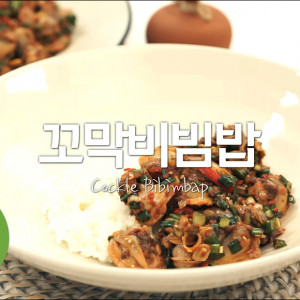 I'll tell you about cockle bibimbap from 1 to 10.4.87(31)
 -
3
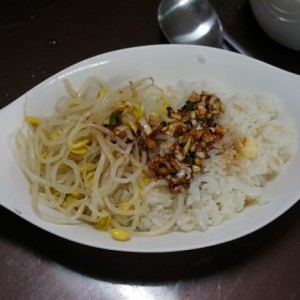 Savory and crunchy bean sprout bibimbap - imitating Jongwon Baek4.86(14)
 -
4
 Stir-fried onion bibimbap4.96(54)
-