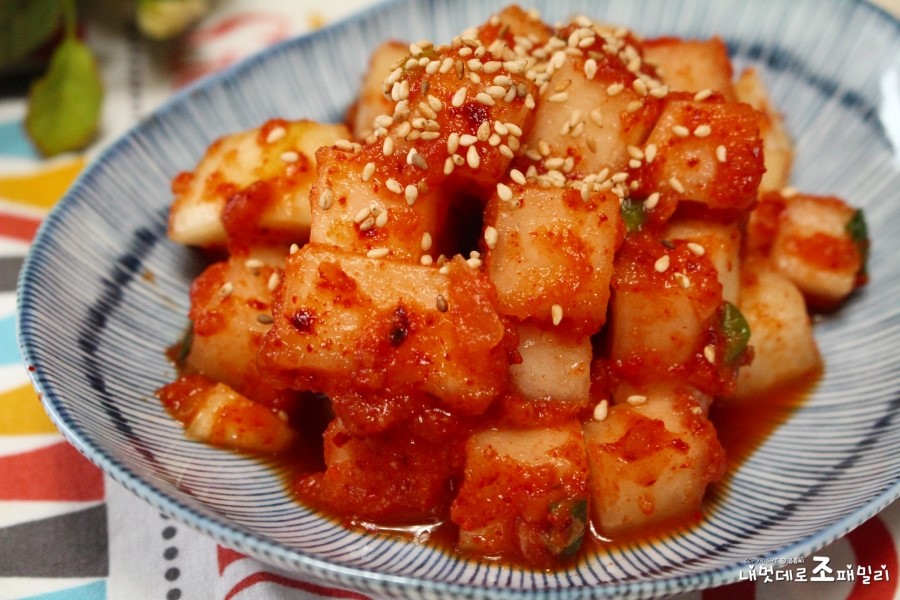
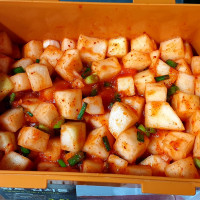
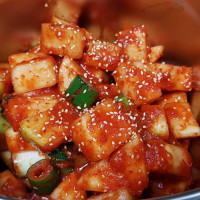
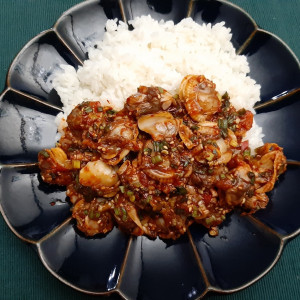
cubed radish kimchi
I made delicious kkakdugi these days. It adds flavor by mixing the red~red seasoning of the crunchy radish! It's a golden recipe for kkakdugi that's even better if you ripen it for a few days.
6 serving
Within 60 minutes

쥬쥬씨
- Ingredients
-
-
Radish1ea
-
Salt1T
-
Sugar1T
-
Red pepper powder3T
-
crushed garlic1T
-
salted shrimp1T
-
fish sauce1T
-
plum extract3T
-
onion1/2ea
-
ship1/2ea
-
Scallions
-
leek
-
- Cooking Steps
-
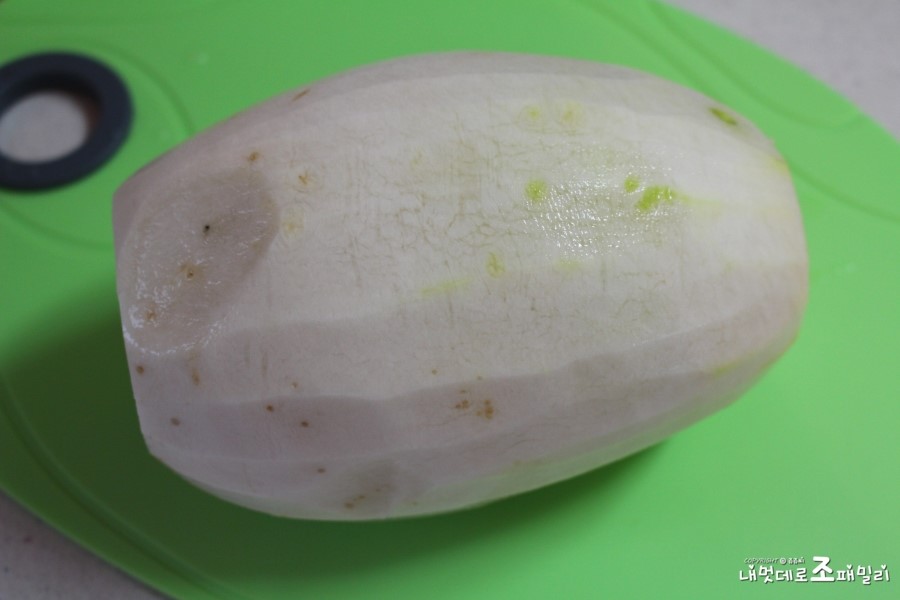
STEP 1/12Wash it clean and then scratch the shell with a knife or trim it with a potato peeler like me.
 STEP 2/12You can cut it into 2.5 to 3cm sizes on all sides, but it doesn't matter if it's not that size, so you can cut it in a size that's easy to eat.
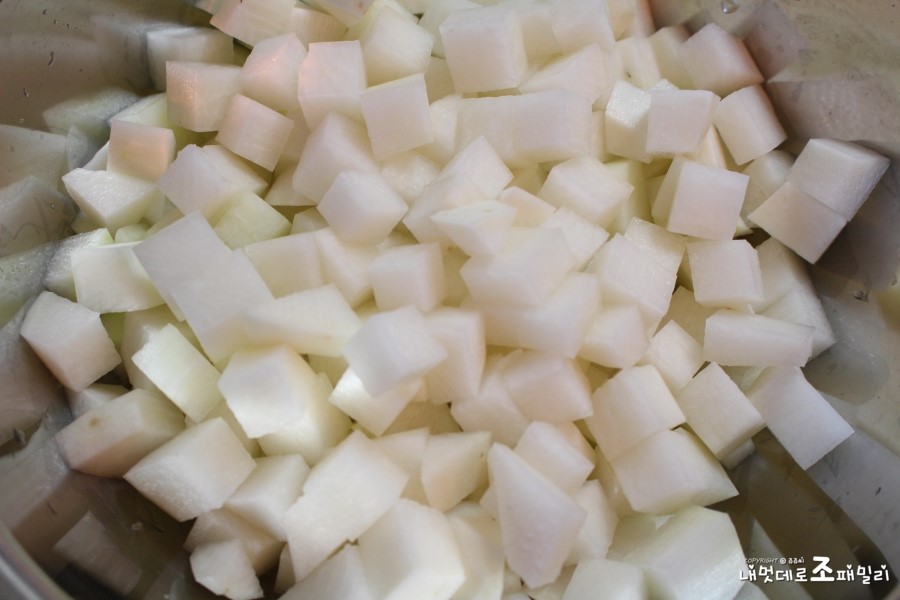 STEP 3/12It is said that the most basic salt in the way of making kkakdugi, the taste of kimchi varies greatly depending on which salt is used. It's better to use it because there's sun-dried salt without salt, and pickle it with thick salt rather than flower salt.
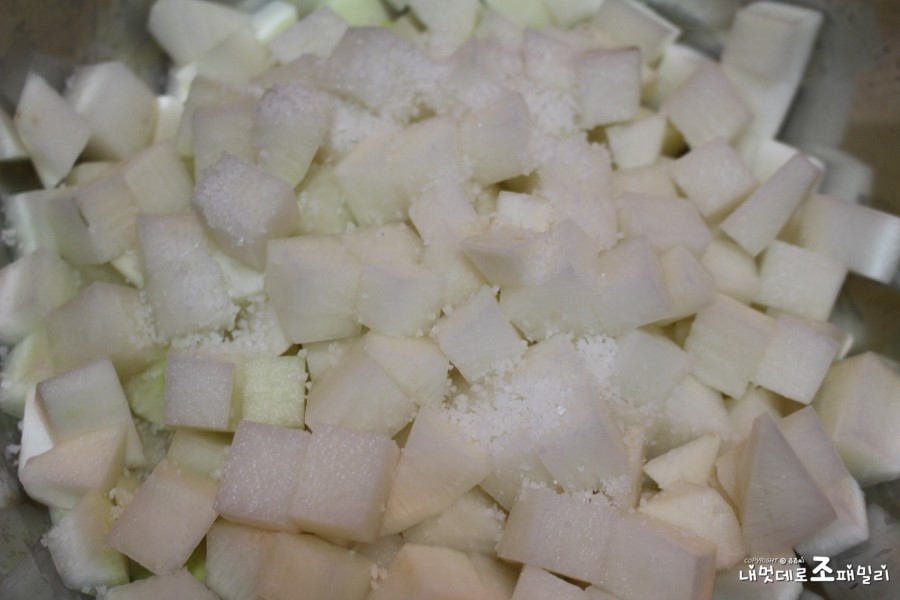 STEP 4/12The golden recipe in the Live Information Center was pickled with cider, but I put a spoonful of salt and sugar in it. If you have party members, you can put that in instead of sugar But the amount is in half!!
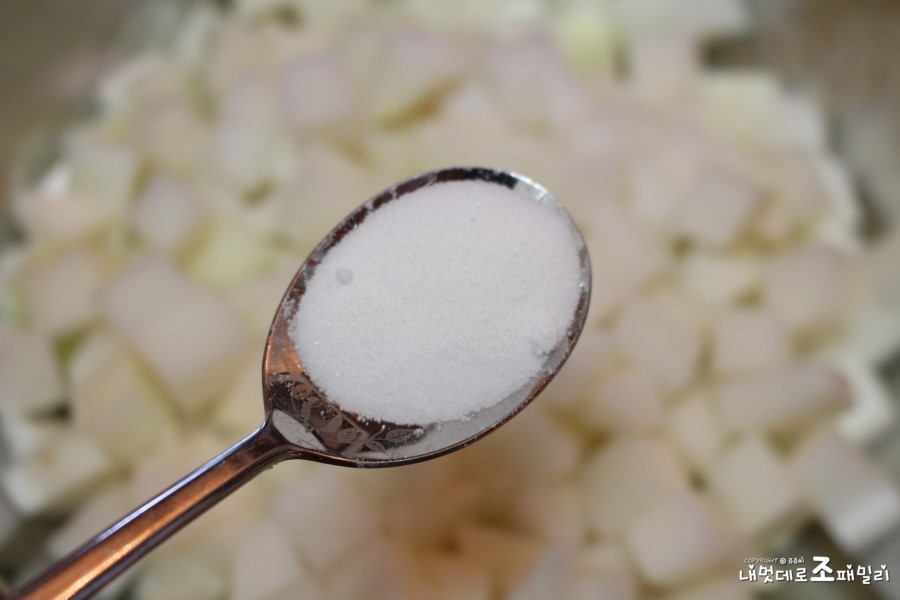 STEP 5/12Mix it evenly and soak it for about an hour to get water, so just pour the water out and never rinse the radish. When you make cabbage kimchi, you soak it in salt and rinse it with water, but you can't do it like that
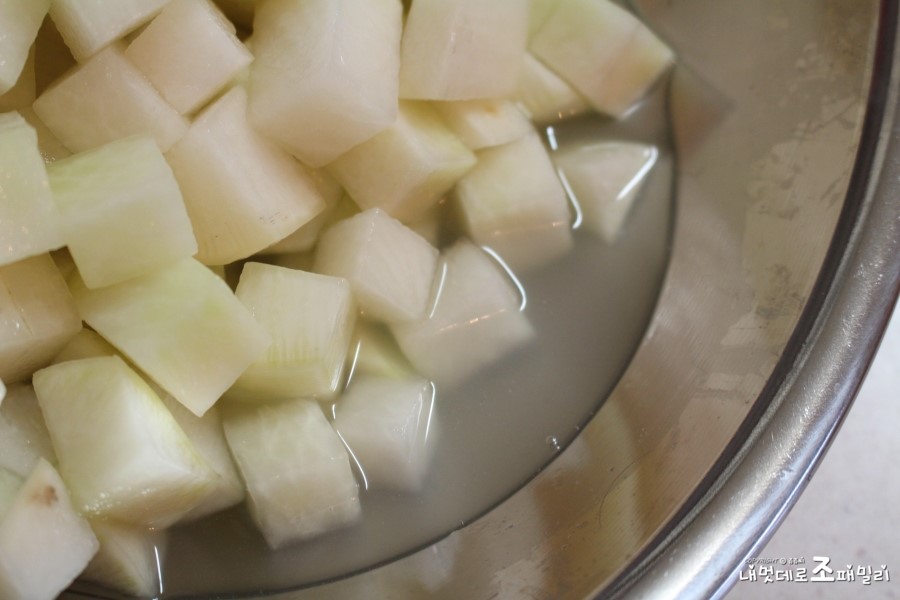 STEP 6/12Add 2T of red pepper powder first, and let the radish cut into the color well.
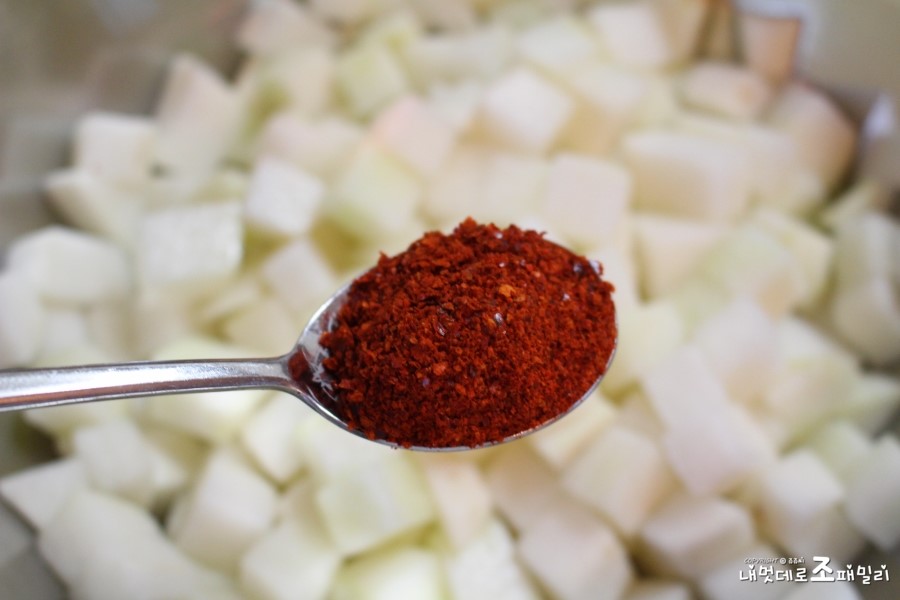 STEP 7/12If you do it like this in advance, the color gets nice
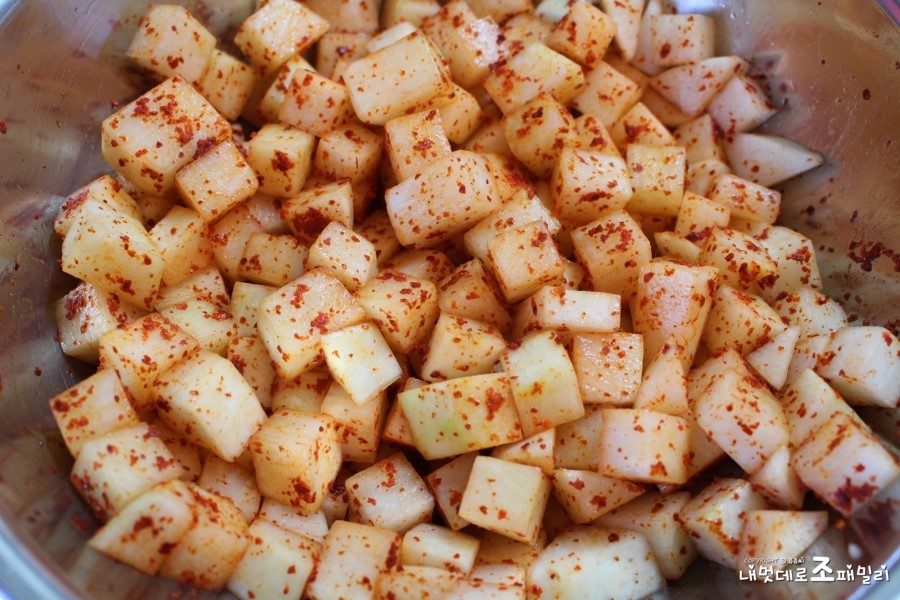 STEP 8/12Grind onions and pears and add a spoonful of salted shrimp.
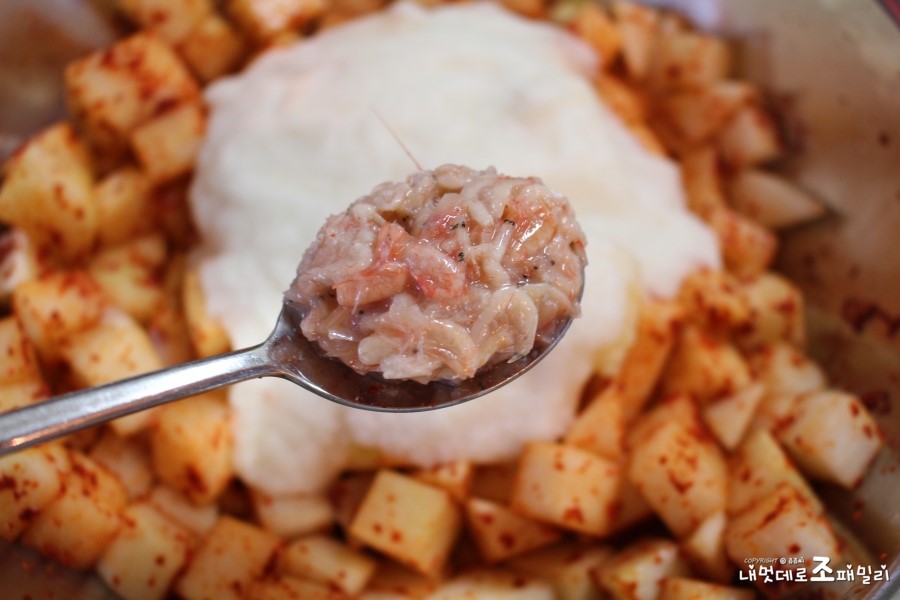 STEP 9/12Add plum, fish sauce, and minced garlic, and you can add or subtract the seasoning according to your preference!
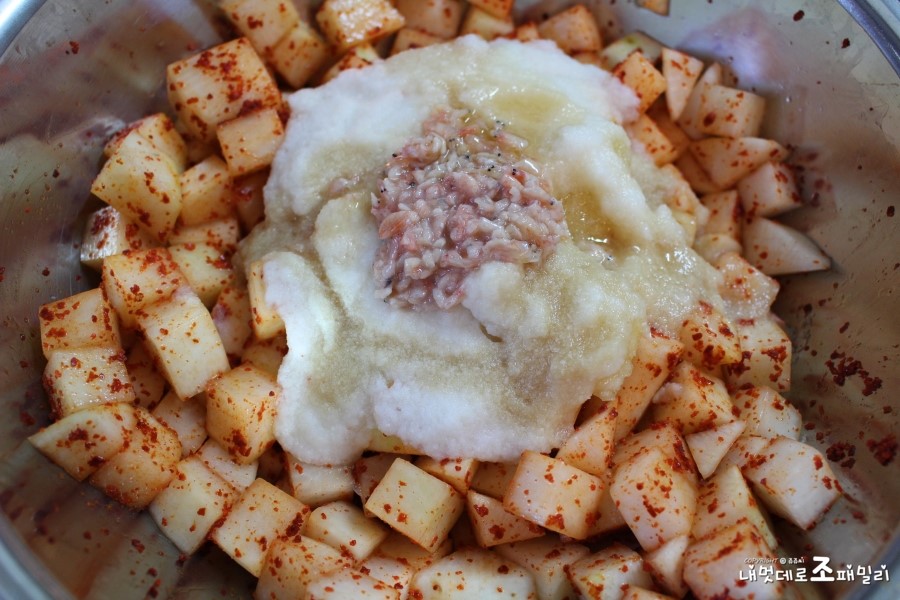 STEP 10/12Add chives or green onions and a little more pepper powder. I thought it was hard to make kkakdugi, but it's surprisingly simple I couldn't even think of it because I thought kimchi would be difficult, but it's worth trying again.
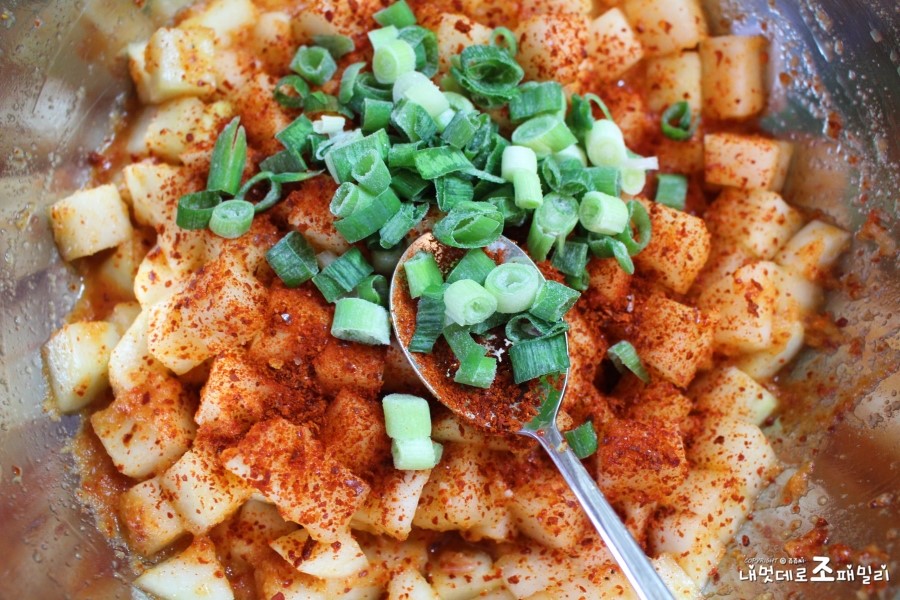 STEP 11/12I ground pears and onions, and the soup is very fresh If you don't have a pear, you can replace it with an apple, and it's delicious even if you add a bag of pear juice.
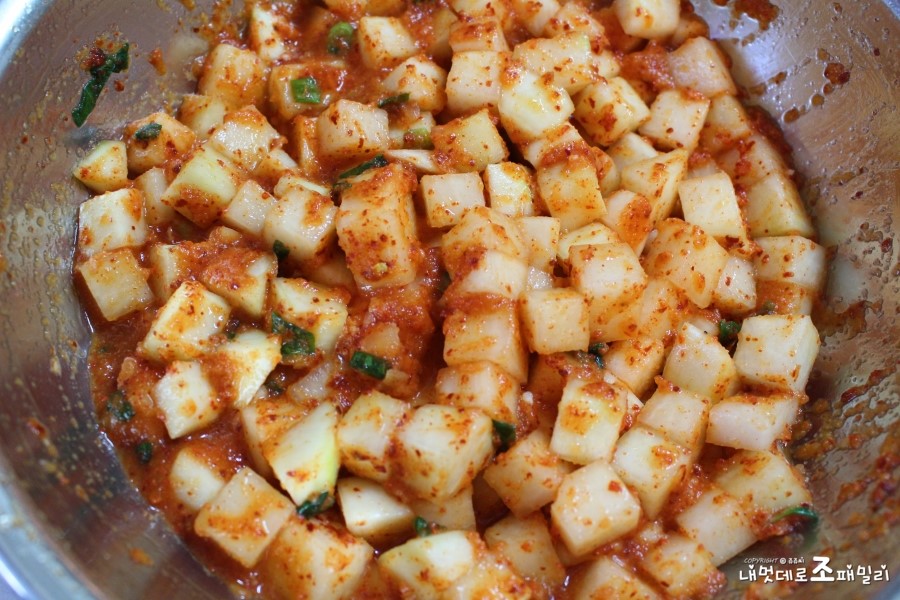 STEP 12/12I only made one radish, but when I put it in the kimchi container, it looks quite a lot. Put it in the container, leave it at room temperature for a day or two, and then use the refrigerator!
- Cooking review
-
5.00score
-
 841*****scoreIt's my first time making kimchi. It's so delicious Thank you!2020-07-13 04:18
 -
 384*****scoreIt's delicious!2020-07-07 12:49
 -
 921*****scoreThe kkakdugi recipe is fixed with Juju's recipe. ^^ Thank you~!2020-05-09 22:09
 -

 723*****scoreIt's so delicious~ I made it too complicated, but I think it tastes better with the recipe. Thank you2020-03-21 23:03
 -
a2p***scoreIt's delicious2020-02-01 19:56
-
- Kimchi Recommended recipe
-
-
1
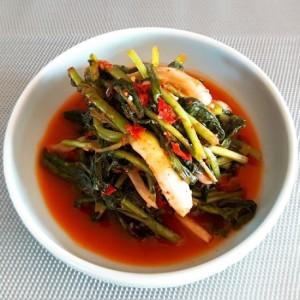 Yeolmu Kimchi Golden Recipe4.94(36)
 -
2
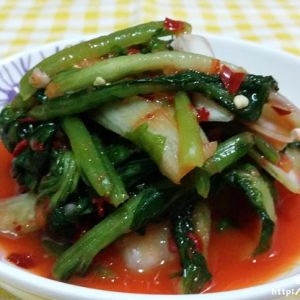
 Making Yeolmu Kimchi with Live Information Box4.83(140)
 -
3
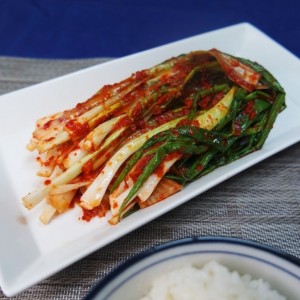 Golden recipe for green onion kimchi. How to make green onion ki4.94(759)
 -
4
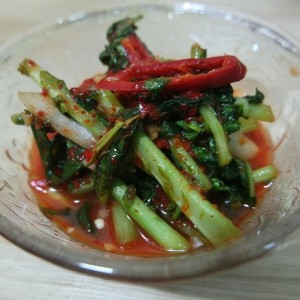
 Yeolmu Kimchi with cold young radish kimchi4.71(38)
-
- Bibimbap Recommended recipe
-
-
1
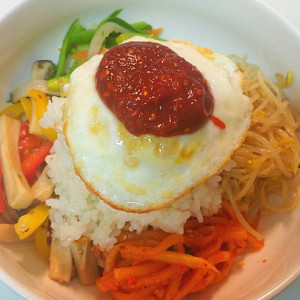 The secret of bibimjang sauce that makes bibimbap delicious5.00(11)
 -
2
 How to make tuna lettuce bibimbap. Bringing summer taste with go5.00(10)
 -
3
 [Simple home cooking] A splendid transformation of tuna can! Mak4.98(52)
 -
4
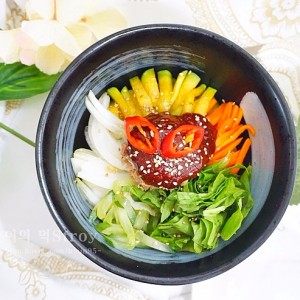
 Eating cockle bibimbap at home4.98(100)
-