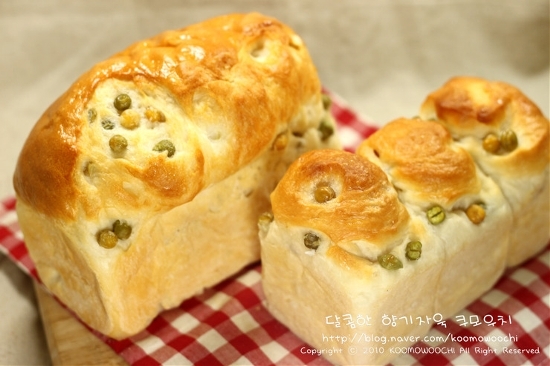
Healthy Pea Bread - No Butter, No Egg Baking
It's a pea bread made with peas.
3 serving
Within 90 minutes

쿠모우치
- Ingredients
-
-
Strong flour250g
-
Agave syrup20g
-
Salt5g
-
East7g
-
Milk170g
-
canola oil10g
-
pea75g
-
- Cooking Steps
-
STEP 1/12Measure the salt and yeast so that they don't touch each other, mix well, add all the liquids, and start kneading.
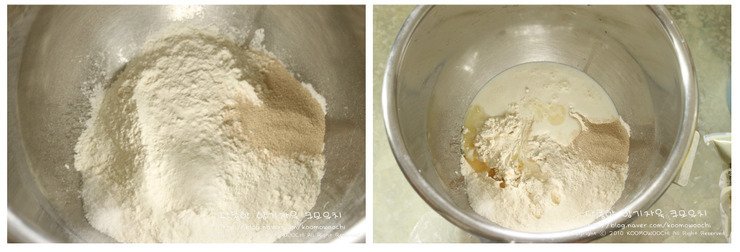 STEP 2/12It's not butter, it's vegetable oil, so put it in the first step of kneading, so knead it until the surface is smooth and the gluten is well formed. Round the surface and let it ferment first. For the first fermentation, ferment for 40 to 50 minutes until the volume rises by 2 to 2.5 times.
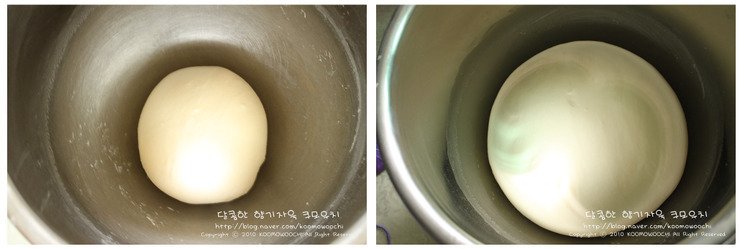 STEP 3/12I made it twice as much as the recipe. The original recipe is the amount of bread, so don't split it, just roll it right away and have it for 15 minutes (=bench time).
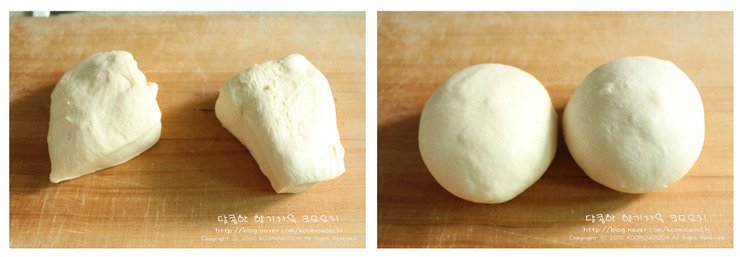 STEP 4/12One-loop molding. Place the cute dough on the work surface. Chubby. Isn't it so cute?
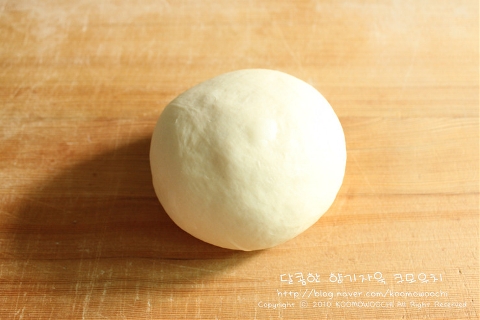 STEP 5/12Use a rolling pin to push. In an oval shape
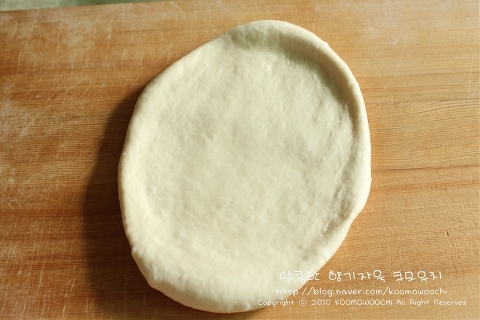 STEP 6/12Spread the boiled peas evenly over the dough. There should be no moisture, so if there is, please remove it.
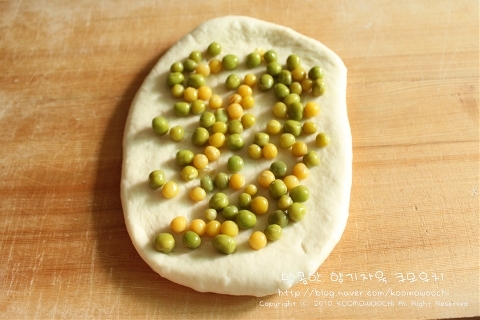 STEP 7/12Roll the evenly coated pea dough very tightly from the top.
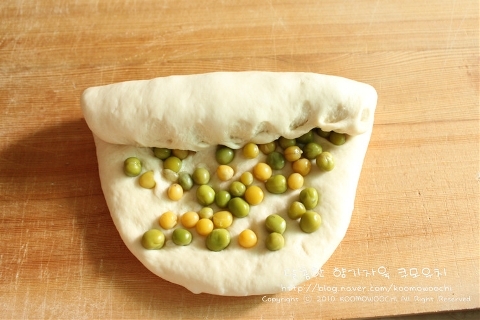 STEP 8/12Please wrap up the last part thoroughly. So that it doesn't get loosened when it's fermented
 STEP 9/12If you roll it a little bit... The wonruppu plastic surgery is over. If you put it in the bread pan right away, that's it's done.
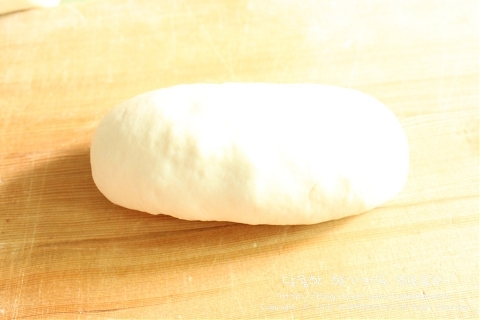 STEP 10/12I'll use a one-loop method. Divide the other into three parts and pan it on the pan.
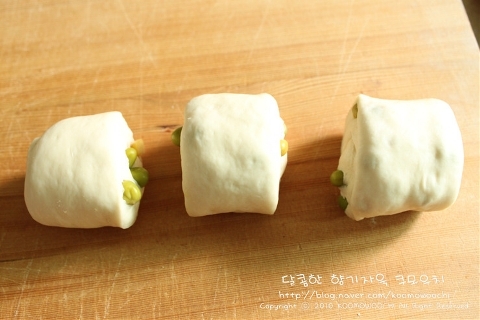 STEP 11/12Put the dough in the pan and ferment it for the second time. The fermentation is the best!!! Honestly, the pan was a bit small, so I couldn't help it. I didn't have a choice. After the second fermentation, bake the dough in a 180-degree oven until golden for 20-25 minutes.
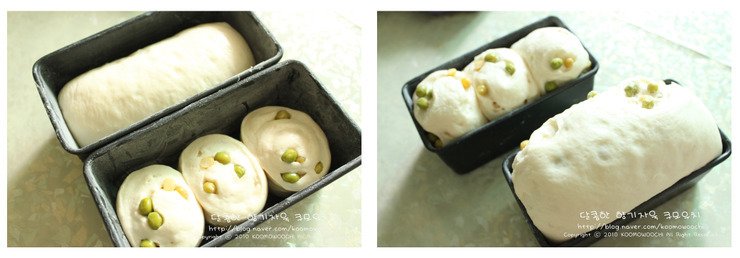 STEP 12/12The one-loop is large because it is baked with all the dough, but the one-loop is small in volume because it is baked in triples. Because the process shot was divided into 3 pieces, but I cut it into 4 pieces and baked the rest one by one, and it's pretty cute. It's moist with vegetable oil, but it's not a pea pillow, so it's not too sweet and it's good.
- Japchae Recommended recipe
-
-
1
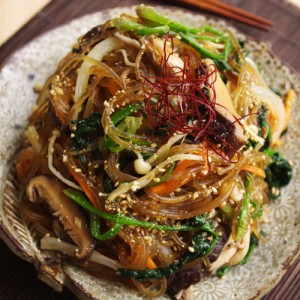
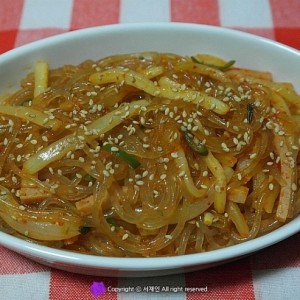 [Noodle dish] Spicy. "Kimchi Japchae"4.96(48)
 -
2
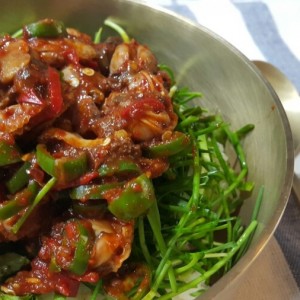
 Spicy bean sprout japchae4.79(127)
 -
3
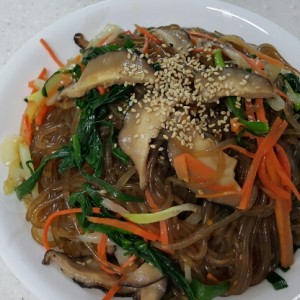
 Mushroom japchae that can be a great side dish4.82(22)
 -
4
 A more delicious japchae with a golden recipe4.87(15)
-
- Bibimbap Recommended recipe
-
-
1
 [One bowl recipe] Tuna sprout bibimbap, sprout bibimbap, seasoni4.93(68)
 -
2
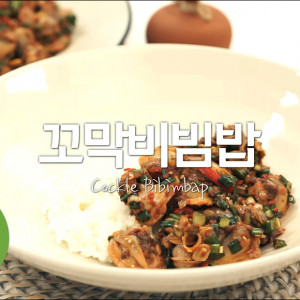
 Cockle bibimbap is so good4.93(42)
 -
3
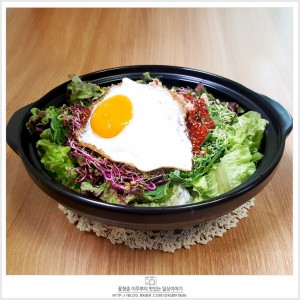
 Let's mix it with easy ingredients! Lettuce bibimbap4.94(18)
 -
4
 I'll tell you about cockle bibimbap from 1 to 10.4.87(31)
-